 It all started on Sunday afternoon with my son's Lego *RC*. He (*RC*) came rolling into my room toward me with a note attached to his antenna. When I detached it and opened it, it read "I {heart} U! So precious! Then *RC* took off and it started all over again.
 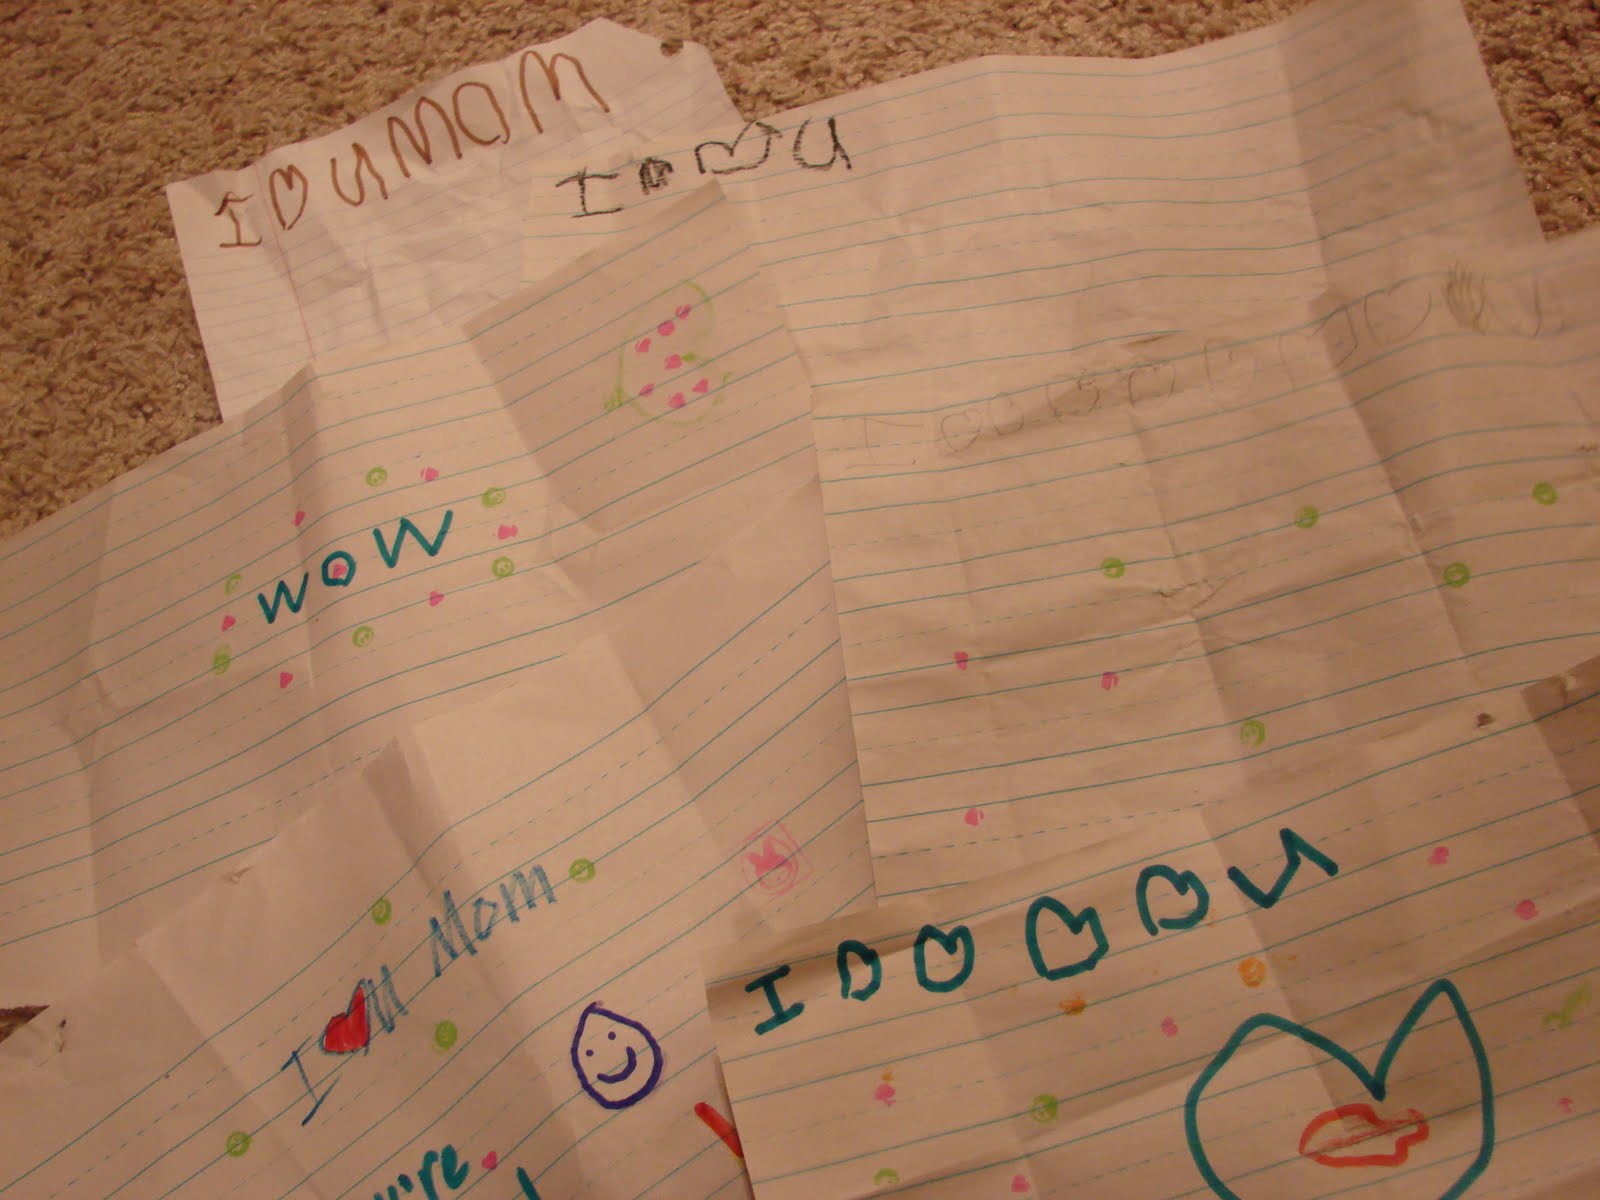 I now have quite the *love note* collection from these past couple of days. My daughter had to get in on the action, too, but mostly these are all from my sweet boy. I have no idea where he got the idea of sending me notes via *RC*, but I love his little creative mind.
 Then Monday afternoon I remembered that way back around Valentine's day I had picked up a couple of mini mailboxes at Target's $ section. I had some idea then of attaching them to the walls by their doors or something, but had tucked them away in my closet and nearly forgotten them. So I dug them out and put their names on the fronts of them with letter stickers, tucked a note inside each and surprised them by putting them on the floor in their doorways. They LOVED them!
In fact it started an absolute frenzy of note writing between the two of them as they rushed to fill the other's mailbox. They loved the concept of putting up the flag to notify their sibling that something was in the box. (This is sort of a new concept for them since our neighborhood doesn't have traditional mailboxes...sad, I know).
 I am so happy that we have found a new avenue of encouraging each other. I'm sure any of you who have kids close in age know the joys of sibling fighting. It can drive a mama nuts, I tell you!! Watching my kiddos write loving things to each other was just what I needed today. I'm looking forward to using these little boxes for lots of fun stuff!