 I don't know if you've noticed, but the past couple of nights there have been amazing views of the moon. Really beautiful!
 Two nights ago we got out our little amateur telescope~that we think is just too much fun!~ and took in the sight with the kiddos.
 It's always so cool to see the moon up closer and SO big! The kids love to check it out.
 Then just last night I read about something very cool. It was the first time in almost 20 years (since 1991) that the full moon~the Harvest Moon~rose at 100% illumination directly on the Autumnal Equinox. It won't happen again until 2029.
 So we hurried and gathered our cameras and headed out to watch the sun set and the moon rise!
 The sunset was really colorful and gorgeous, in the West.
 It always amazes me how quickly it sinks!
 At the same time, the full Harvest Moon was rising in the East.
 Look at that surface! It's so clear!
 Later on after the kiddos were tucked in and sound asleep, Vince and I went back outside in the backyard to gaze at the moon some more.
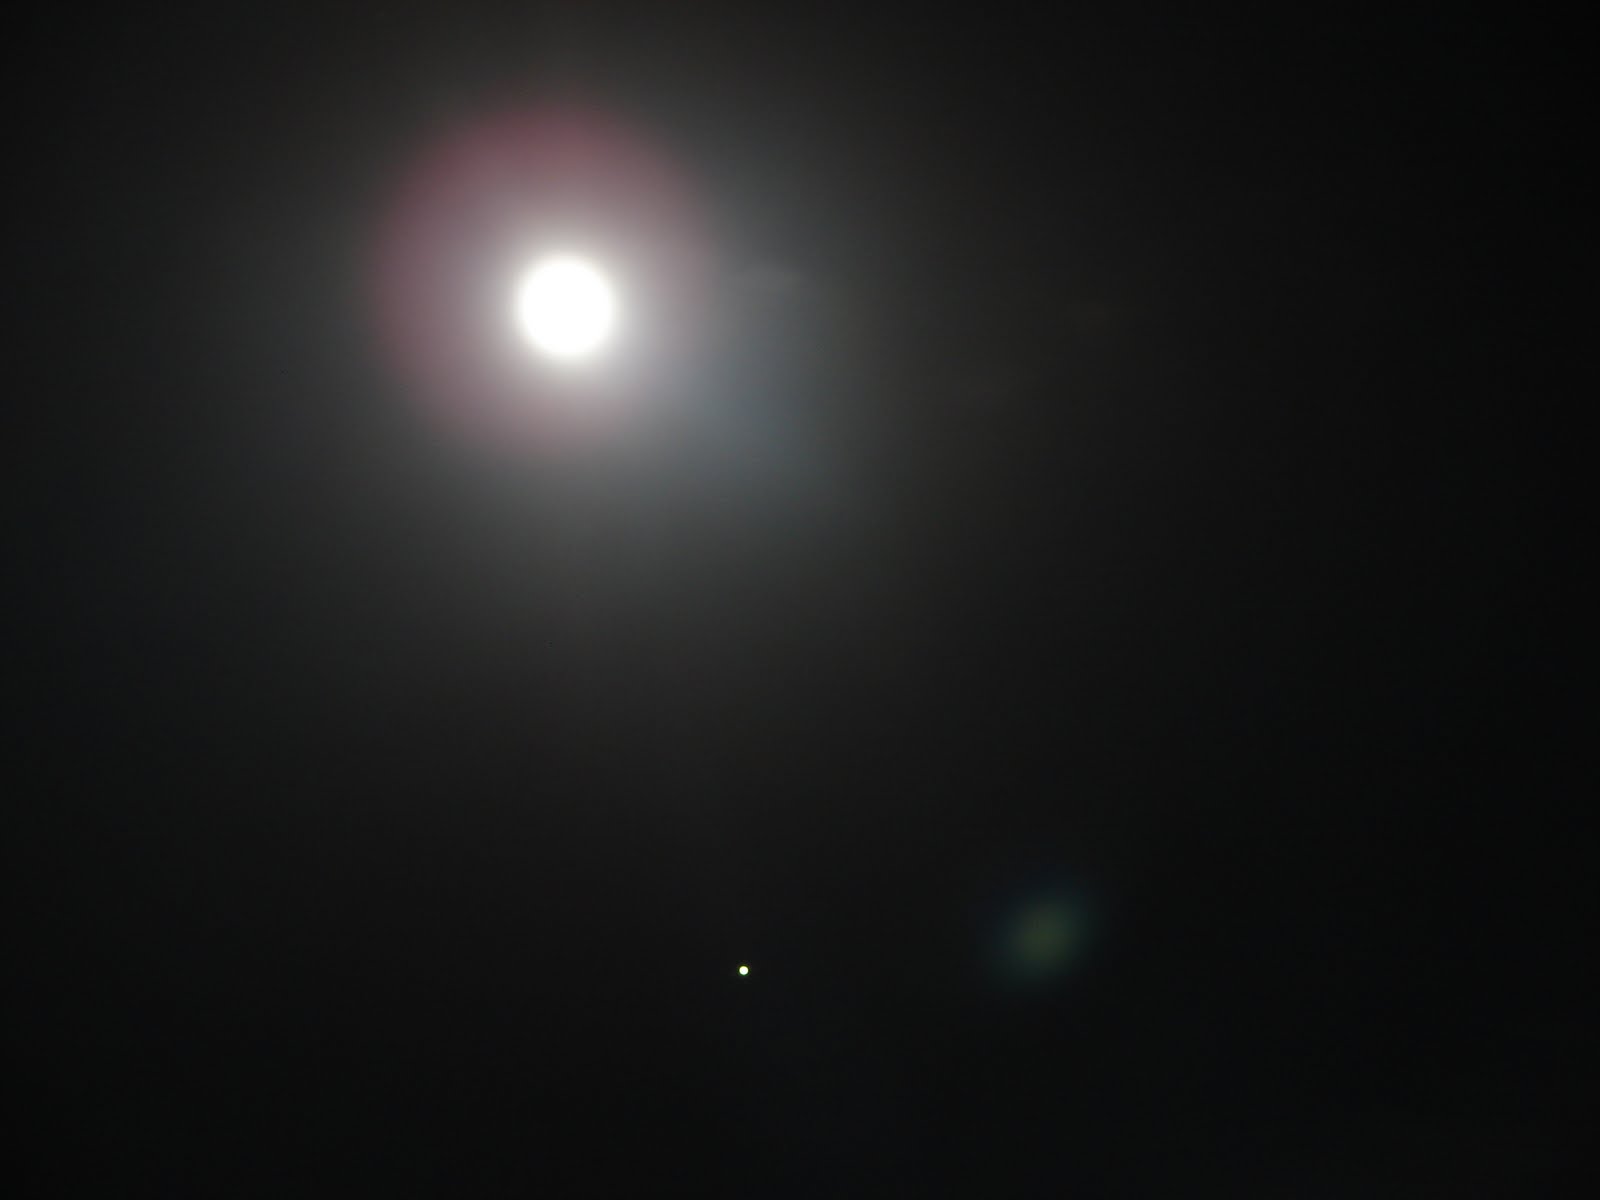
 We took the telescope and found Jupiter (that little dot below the moon that looks like a star). That was so amazing to look at, even through a low-powered scope.
This was all even more interesting to us since we are in the middle of our astronomy study for our homeschool science.
What a wonderful world we are blessed to live in!
The heavens declare the glory of God;
the skies proclaim the work of his hands.
Psalm 19:1
This post is linked to The Homeschool Village.