
We finally wrapped up our Monet and Beethoven studies this week. I know we've let our October study run into November, but it just worked out that way. It's the beauty of homeschooling, right?
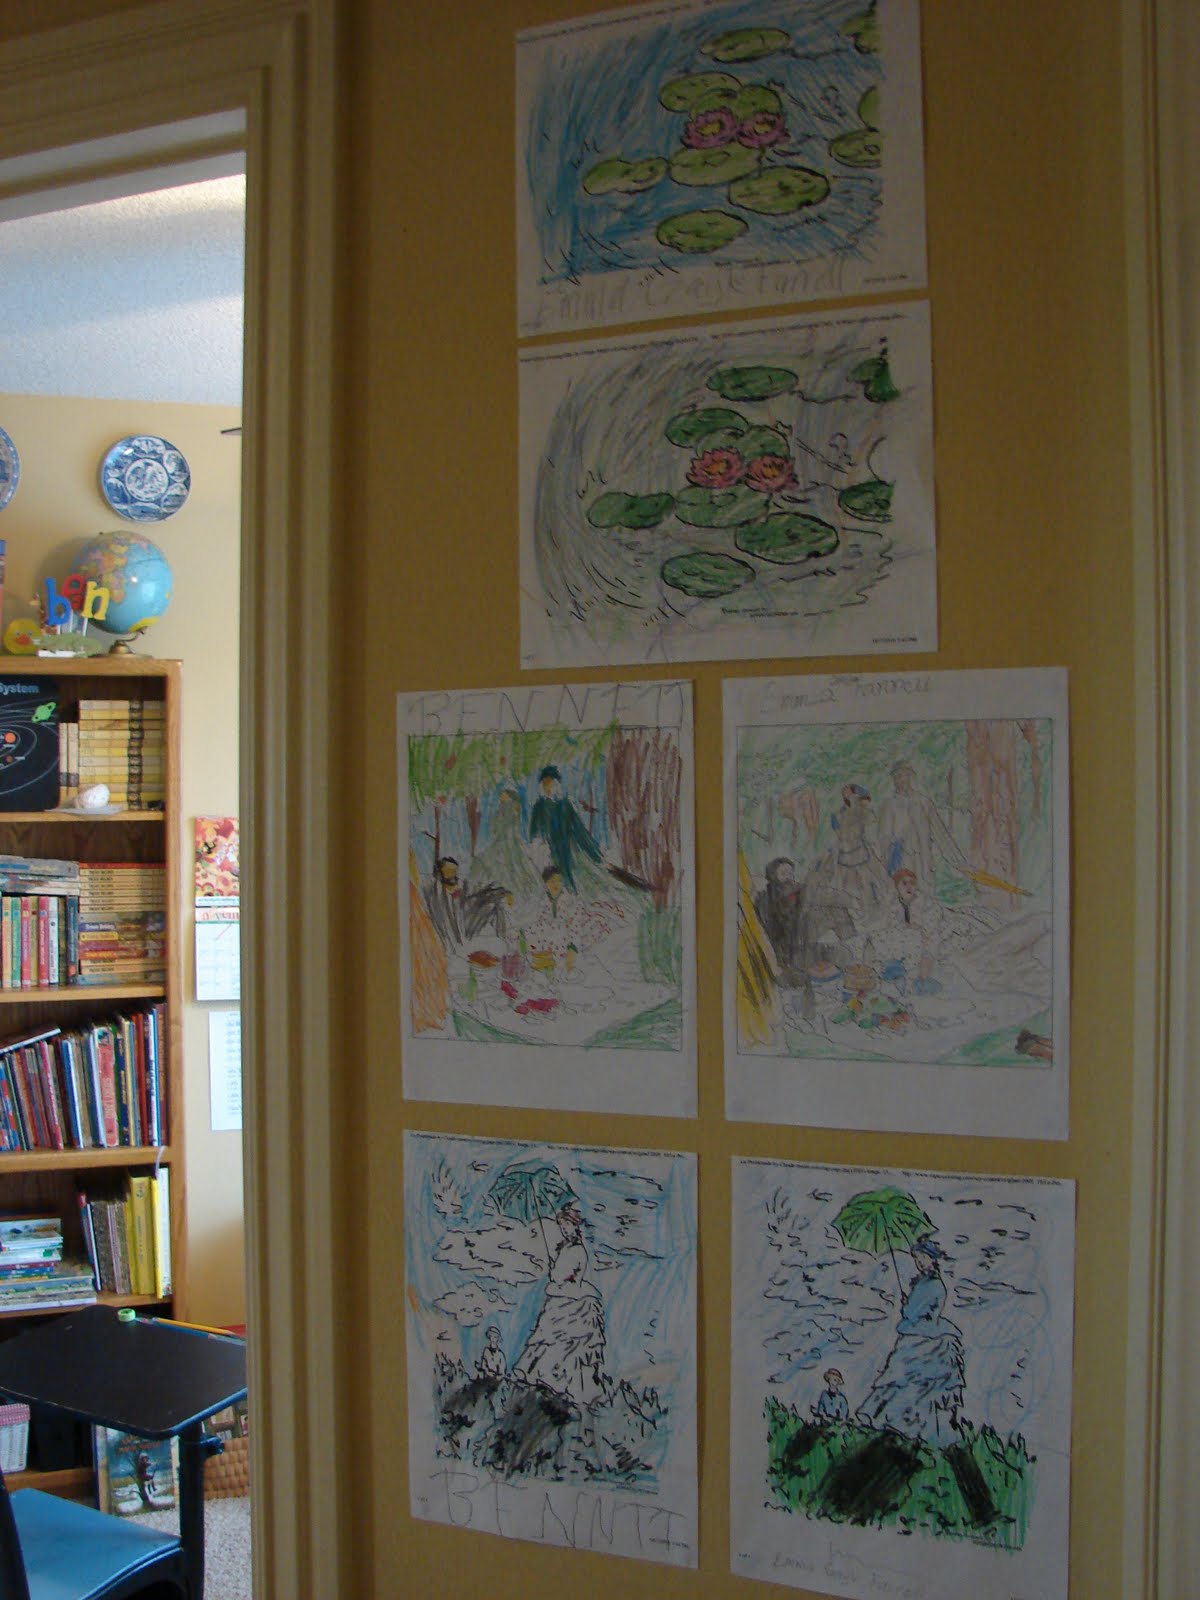
Below is our little *gallery* in the hallway. I am so enjoying this each month. I hang all of the drawings of our artist's paintings that the kiddos color here for us all to appreciate. It's so fun to see their different takes on them.
 They each completed a notebook page on Monet using free downloadable pages found here.
 Here are the completed notebook pages and also a little *flower book* that I downloaded for free from here.
 These are the books we used during our study. I especially love Monet's Table. It was a gift from a friend many years ago and the photographs of Giverney are just amazing. Monet's birthday is this month and the kids are wanting to make something from his cooking journals to commemorate the day. I think that sounds like fun!
 Our final project was to *paint* something in the impressionist style. Once again I found just want I needed in this book.
  We used watercolor pencils today rather than paints. I love watercolor pencils!! If you've never used them, you simply color your picture as usual but then when you're finished you use a wet paintbrush to go over the penciled area and it blends the colors like watercolor paints. A very pretty effect!
 The finished pictures:
 For our study of Beethoven we mostly listened and listened and listened. We all love his music! We did a little biographic study using this book and also the book from the Famous Children series~which I love, too! The kids love to read them. They also each completed a notebook page on Beethoven using more downloads from here.
 Now we are getting ready to begin our third month of art and music appreciation. This has definitely been a hit with the kiddos this year~they can't wait to hear who our next study is about:)