 This past weekend we had the opportunity to visit a regional art museum and had the absolute best time. We are a family of museum lovers!
We spent the morning (which was plenty of time for us) at the Philbrook Museum of Art in Tulsa, OK. Each 2nd Saturday Philbrook has free admission for everyone~which also includes free art supplies for children with their MyMuseum Program. When we arrived the kiddos were each given an art case (pictured with them above) that included a sketch pad, pencil, eraser and an art card featuring a particular work with all of the details about it. Each time they come again on a 2nd Saturday (and bring their cases) they will receive another art supply to add to their case (ie: glue, markers, etc.) and another art card with a different featured work. These can be collected in the style of baseball cards. This was a huge hit with the kids (and us!) as they both love to draw.
 We loved perusing the fine arts collections which were beautifully displayed. Every so often the kids would stop to sketch a particular painting that they liked. Even though Philbrook is filled with fine works it is very family-friendly. I liked that very much!
 (one of Mr. B's favorites)
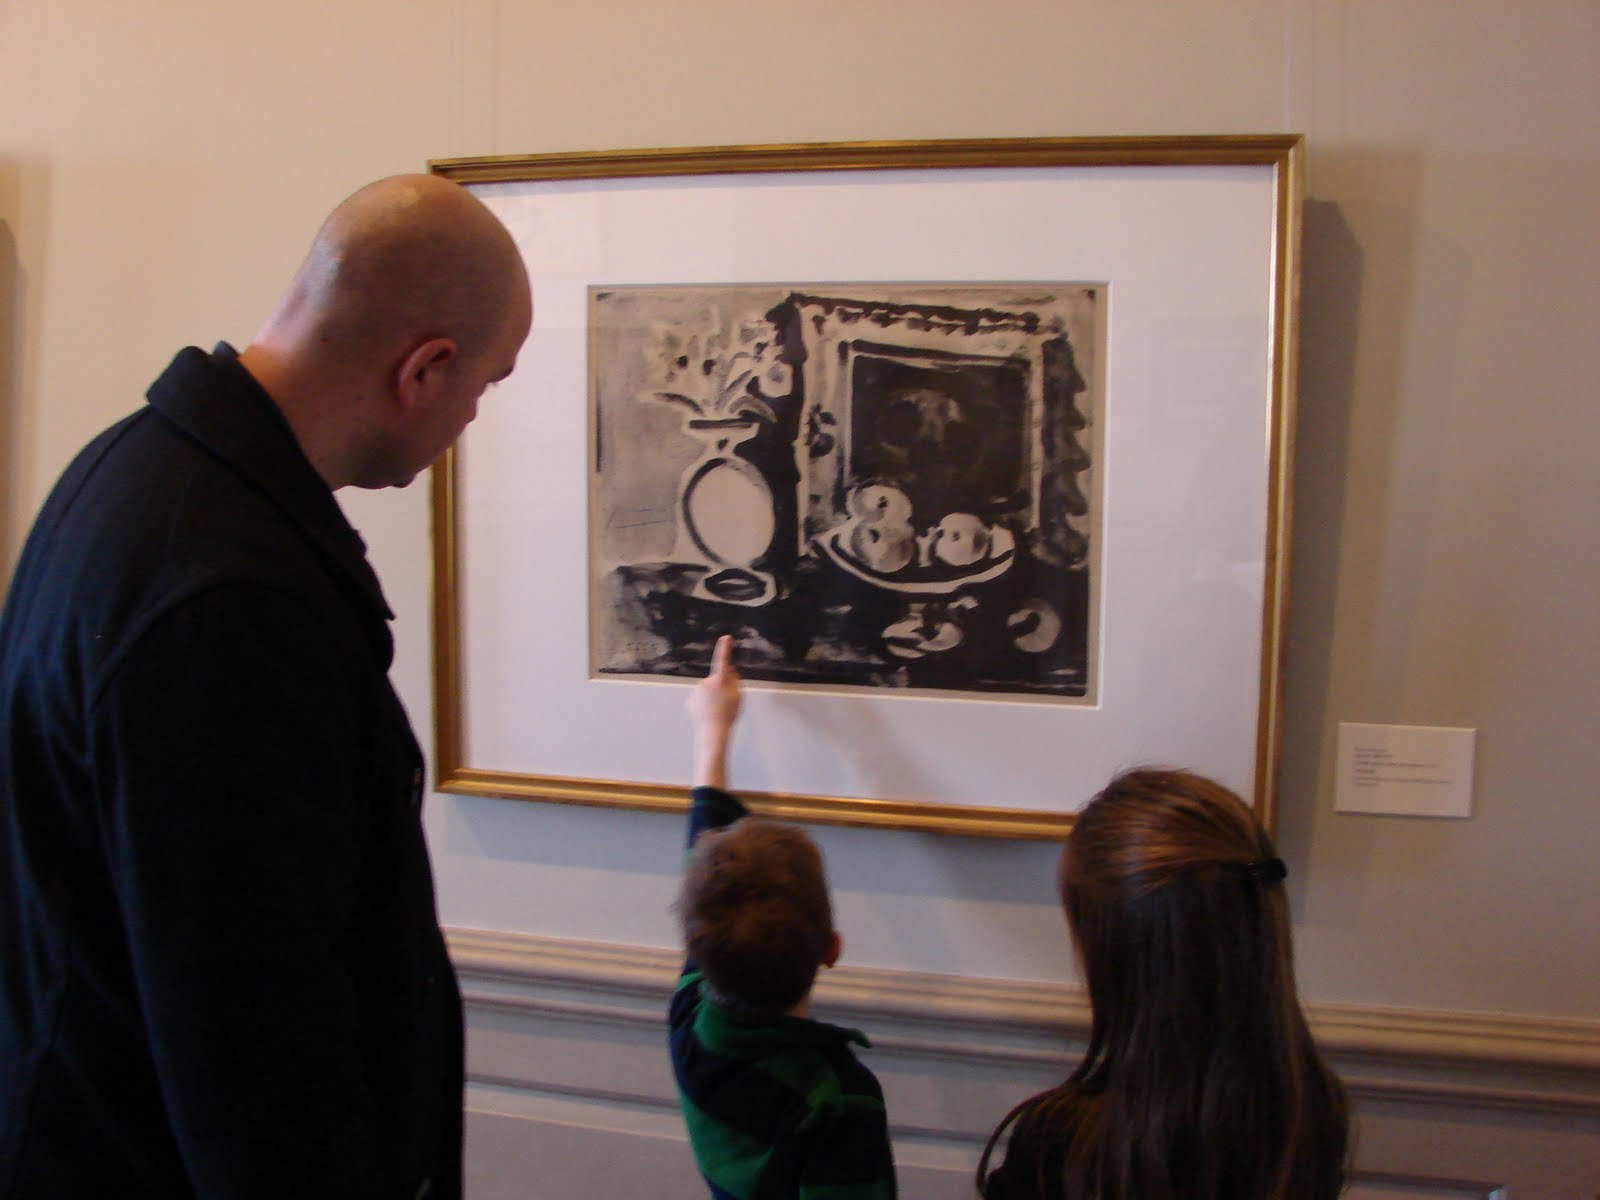 (one of Pablo Picasso's works)
 (the Italian Renaissance collection)
We especially enjoyed the Italian Renaissance collection since we have recently begun studying Leonardo Da Vinci~who was born during the Renaissance. We stayed in this room for quite a while for the kiddos to sketch.


 Another collection that we enjoyed very much was the American Sculpture and Painting. There was a lot of sketching going on in this area, too.
 (The Princess sketching a flower)
 (I love this shot of Mr. B sketching in the American room)
 (Even though I'm not really a modern art girl, I really liked this painting)
 (However, this modern *projection* art was a bit freaky)
We all enjoyed the American Streamlined Design collection. I especially liked the cool retro radios!
 (retro radios)
Philbrook is the former estate home of the Phillips family of Tulsa. It is a 72-room mansion that has been wonderfully preserved and restored. I loved the architecture and details!
 There were several other small collections that we also enjoyed, such as the Native American art and African art.
 We were very excited to find an actual mummy case in their African collection since we've been studying mummies.
 We were also very interested in this oh-so-Narnian looking painting! Wouldn't it have been awesome to have been swept into Narnia on the Voyage of the Dawntreader?! We thought so!
 The day we visited Tulsa was still blanketed in beautiful snow and I loved the way it looked through this window.
 Another fun aspect of 2nd Saturdays is painting and crafts for the children to do. We all enjoyed sitting down to a table full of art supplies and making some Valentines to take home.
 I was especially proud of this watercolor I did of the kiddos' hands making hearts. I'm considering framing it.
 Philbrook also has a beautiful cafe and gift shop. I was charmed by these light fixtures over the cafe.
 If you're near the Tulsa area or are just visiting the city, I highly recommend a visit to Philbrook. It's definitely worth your time. We can't wait to go back! We're looking forward to exploring the gardens the next time!