 Yes, that's what my daughter asked for, a "girly-girly" cake. Not that she could even tell me what all that entailed. So Vince and I had to come up with something to fit the bill. I think we hit a home run with this.
We decided to do a *girly-girly* version of the rainbow cake. Remember that one? So pretty! But this time we went with *girly* colors.
 First I whipped up a yellow cake mix. A white one might have worked better color-wise, but I was working with what was in the pantry, y'all.
Next, I divided the batter evenly into four bowls (the predetermined number of colors we chose) and began to color the batter. Our colors were yellow, pink, purple and blue (yes, that's blue even though it looks sort of green here). Gel colors would work the best, but I had to work with old school food coloring this time around. Again, working with that I had:)
 Then I divided the batter into two (greased and floured) 9" cake pans. I placed a 1/4 cup scoop in each batter bowl and then began with pan #1. I started with a scoop of blue, then a scoop of purple, next a scoop of pink and finally a scoop of yellow. Just dump the scoop right in the center of the pan, subsequently dumping the next color right on top of the last. I reversed the color pattern in pan #2 and then repeated the steps with each pan until the batter was evenly dispersed and all gone. Before you put the pans in the oven just give them a little tap on the countertop to spread the batter in the pan evenly. Bake as directed on the box.
 Then clean up the inevitable mess. But isn't it a pretty mess?
 When the cake is done, turn the layers out onto a cooling rack to cool completely before frosting.
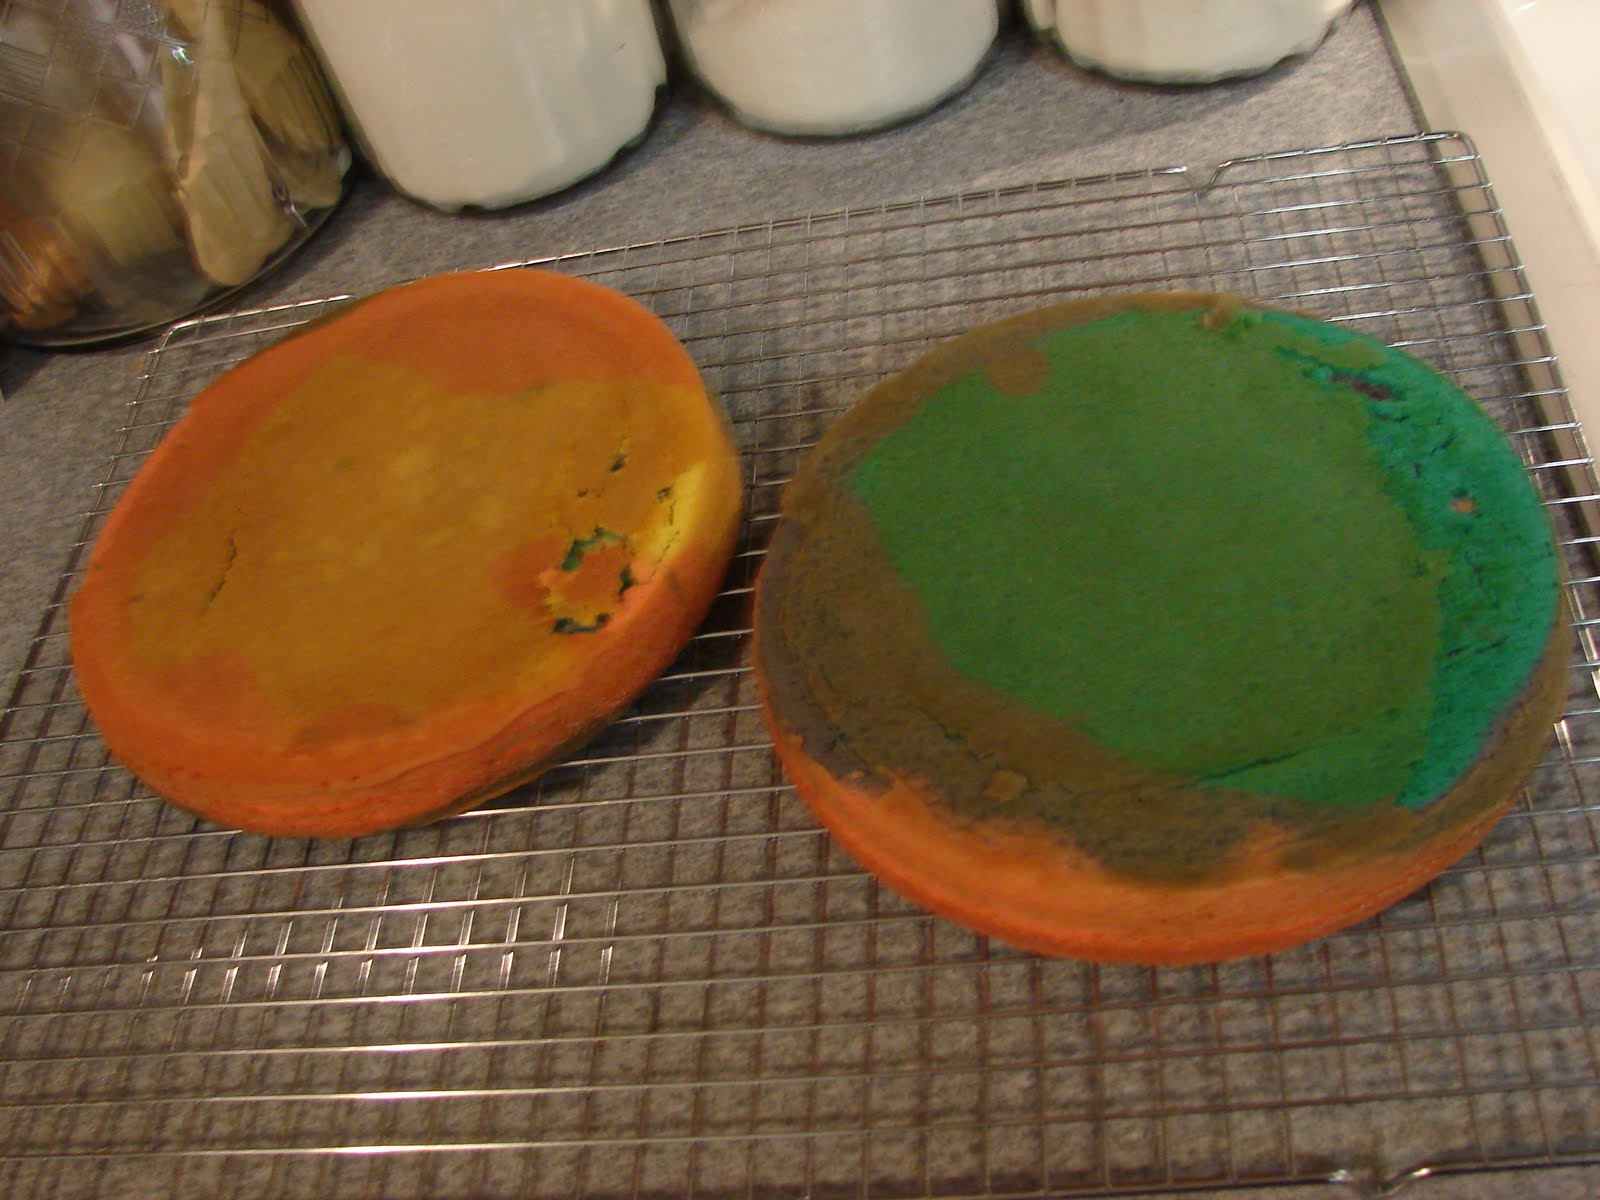 Next I made a homemade batch of vanilla buttercream frosting~I doubled this recipe. There was plenty to put the cake together and a little extra for a few licks. (Sorry, I didn't get a photo of this step, but it's simply icing a layer cake).
For the finishing touches, Vince whipped up some icing to match the colors inside the cake. Because we needed icing quickly we used the store-bought kind that comes in a bag with a tip. Since my icing tips and bags are currently in storage this was the least expensive way. And the frosting isn't bad (I'm not usually a fan of canned frosting).
 The result was so cute!! The Princess LOVED it~and so did everyone else!!
 There's just something incredibly fun about cutting into a cake that looks like this on the inside!
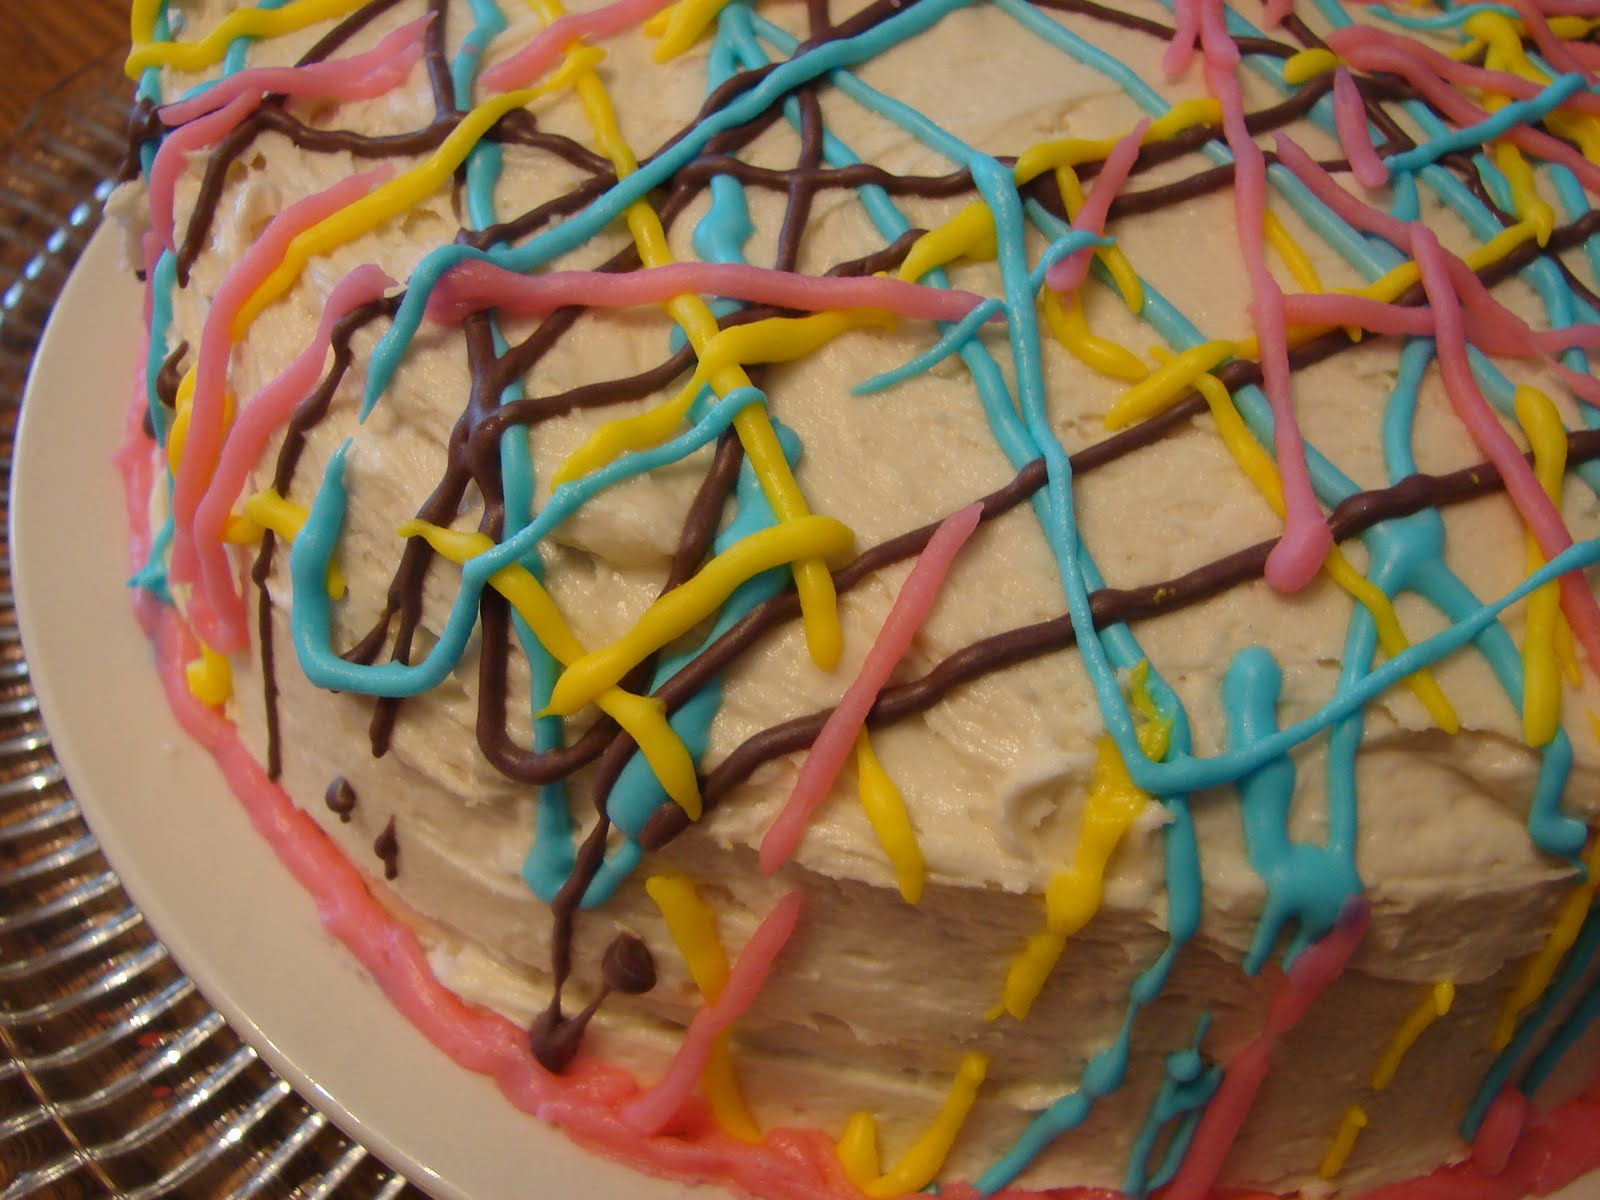
 Of course, it's even more fun to eat it:)