
We were recently in Hot Springs, AR and before heading back home we decided to take the kiddos to visit the *Bathhouse Row* of Hot Springs National Park. Way back in the 19th century the hot springs were discovered and started to be used for their "healing" properties. By the early 1900's large, beautiful bathhouses were being built. I have always loved driving by~Bathhouse Row is right in the heart of downtown~the architecture is amazing and each so different!


 This one (below) is the Fordyce Bath House and it houses the Visitors Center for the park. You can also take free tours of it~on your own or guided.
 The porch of this house is so pretty~I can imagine the view must have been so much nicer at the turn of the century when it was built.
 I loved that this Scripture verse was painted on the wall of the foyer.
 I also adored these antique fans mounted on the walls! Vince and I are big *fans* of vintage fans (pun intended!).
 We took the self-guided tour of the house and the house was quite impressive, I must say. Below is pictured one of the ladies room bath stalls...sort of like a bathroom stall, but with a bathtub instead of a toilet. The room was massive~and there was a matching one for the men.
 Here are some of the steam cabinets. I don't know if you've ever been in a steam cabinet, but I have been and just looking at these made me start to feel claustrophobic and sweaty! Not my idea of a good time.
 This beautiful fountain was in the men's bath room. Not sure why, but the men's room was much more ornate than the ladies'.
 It had this gorgeous stained glass above the fountain.
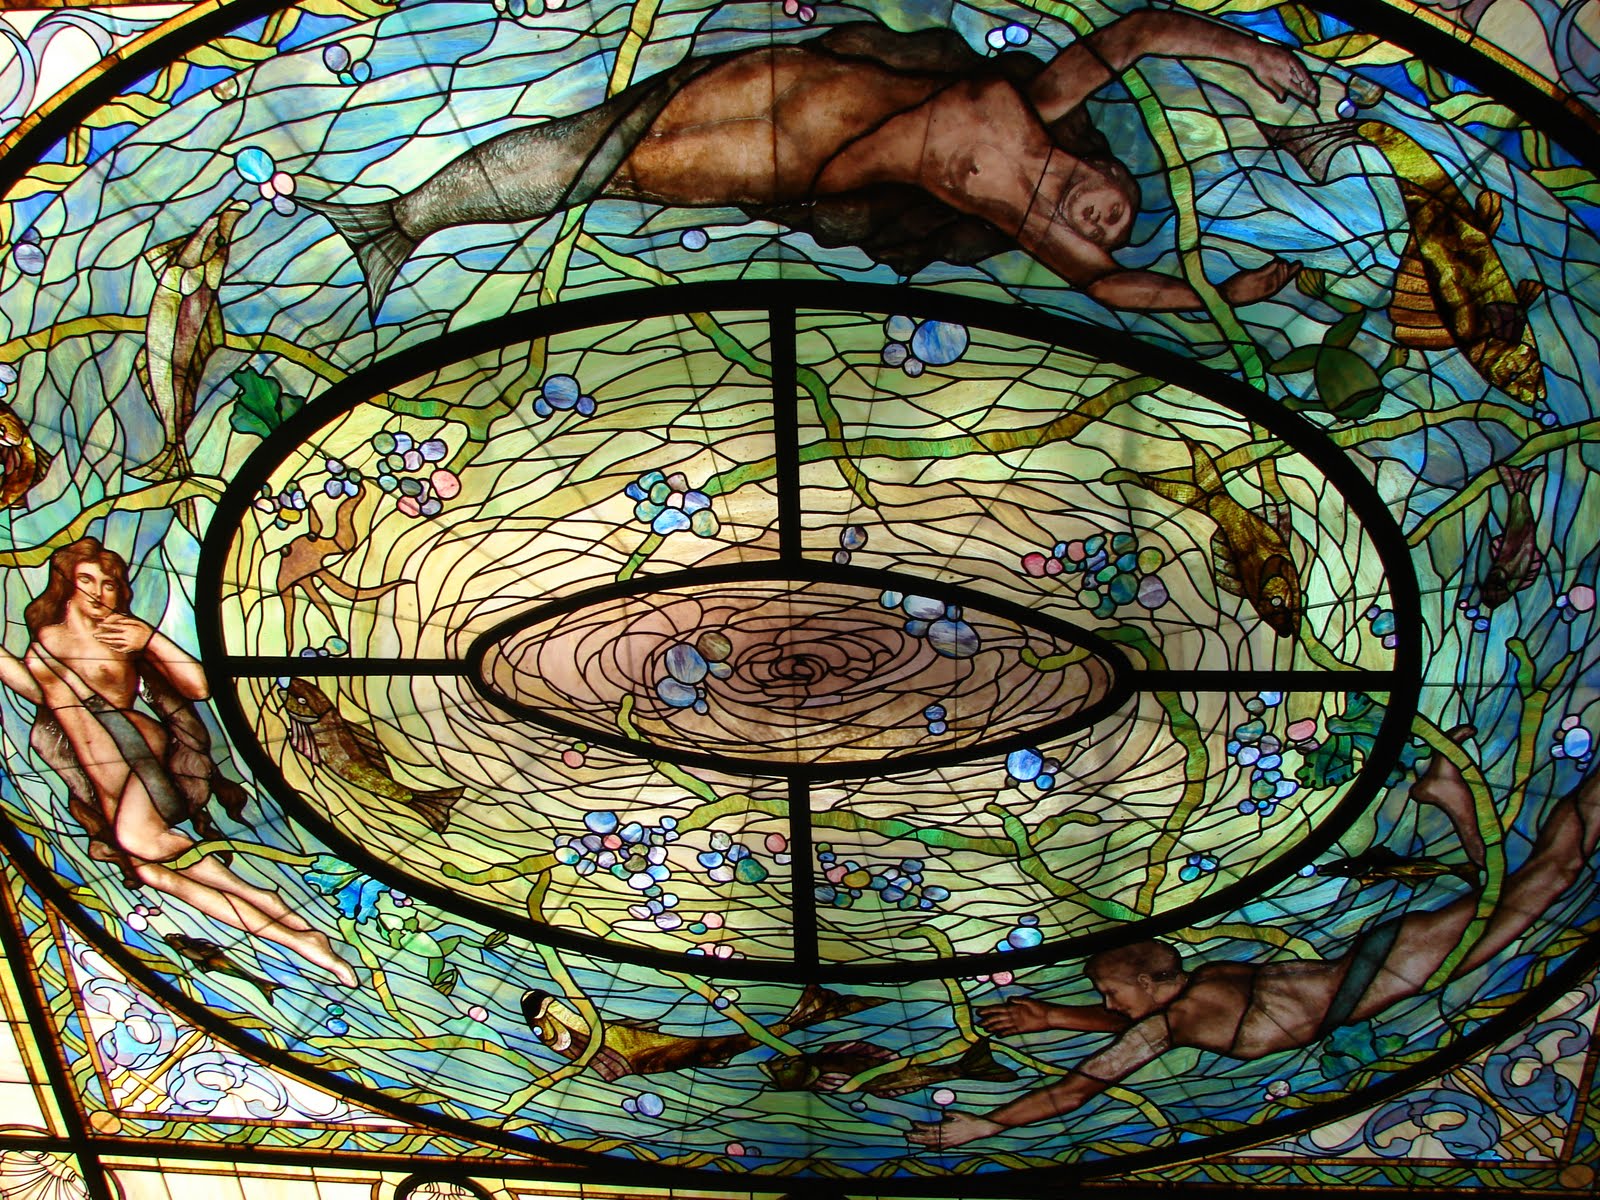 Here is some kind of shower-thingy (can't you tell we did the self guided tour? I'm sure the guide had a much more sophisticated name for this). It had all kinds of pipes and knobs, very elaborate!
 There was a huge section with massage rooms~I love this sign!
 There was even a beauty parlor, as well as guest rooms. I was curious how much it cost to stay in a place like this back then, but didn't find out that bit of trivia.
 This is the music room~lovely, isn't it? Can't you see these houses are the forerunners of our modern day spas.
 Here is the gymnasium. I could just picture those men in those funny weight lifting outfits that you see in old pictures of the circus:)
 In the basement you can actually see where the spring bubbles up from the ground. Surrounding the opening are locally mined crystals.

After our tour we sat *a spell* in the lobby and let the kiddos finish their Jr. Ranger program booklets to earn another badge. By this time it was nearly the end of a very long day and you can see it in their faces. But we all had a great time looking around and seeing how the rich and famous spent their leisure time 100 years ago.


You can check out the National Park Service website for more info on this and all of the other wonderful national parks.