 We have been on a selling frenzy around here lately! I think my husband would sell every stitch of our furniture if I would let him, just so he wouldn't have to move it again. Unfortunately for him, I'm kind of attached to some of it. But there was plenty I've been willing to part with. So we decided to have a big yard sale!
 The kiddos were set on having a lemonade stand and I baked my favorite chocolate chip cookies for them to sell also~who can resist a cookie, right? Then you've gotta buy some lemonade to go with it, don't you? Yeah, we're all about the marketing and suggestive selling here:)
 We got busy that weekend! We decided we were only up for a one-day sale, especially in this horrible summer heat, but we started setting up on Friday. I think we almost made more sales on Friday than we did on Saturday! The people just kept popping by as we were setting up~it was a great day.
 On Saturday we were up bright and early (me, with a big cup of hazelnut coffee, since I'm really not much of a morning person:). And the people came all day until mid-afternoon. By then I had melted and we started packing up. Except for a few larger items, we packed off the leftovers to a local veterans thrift store for donation.
  I leave you with this one last photo...of some of our shoppers. These folks bought a mattress and box springs set from us~the one strapped on top of the pile on top of their minivan! They apparently have a business about 45 minutes from here and hit the yard sales each weekend and stock up, mostly on furniture it looked like. It was a sight to behold, watching them arrange and strap on all of that stuff (they bought furniture from our neighbors who were also having a yard sale). I think nearly the whole block came out to watch them put their load together..ha
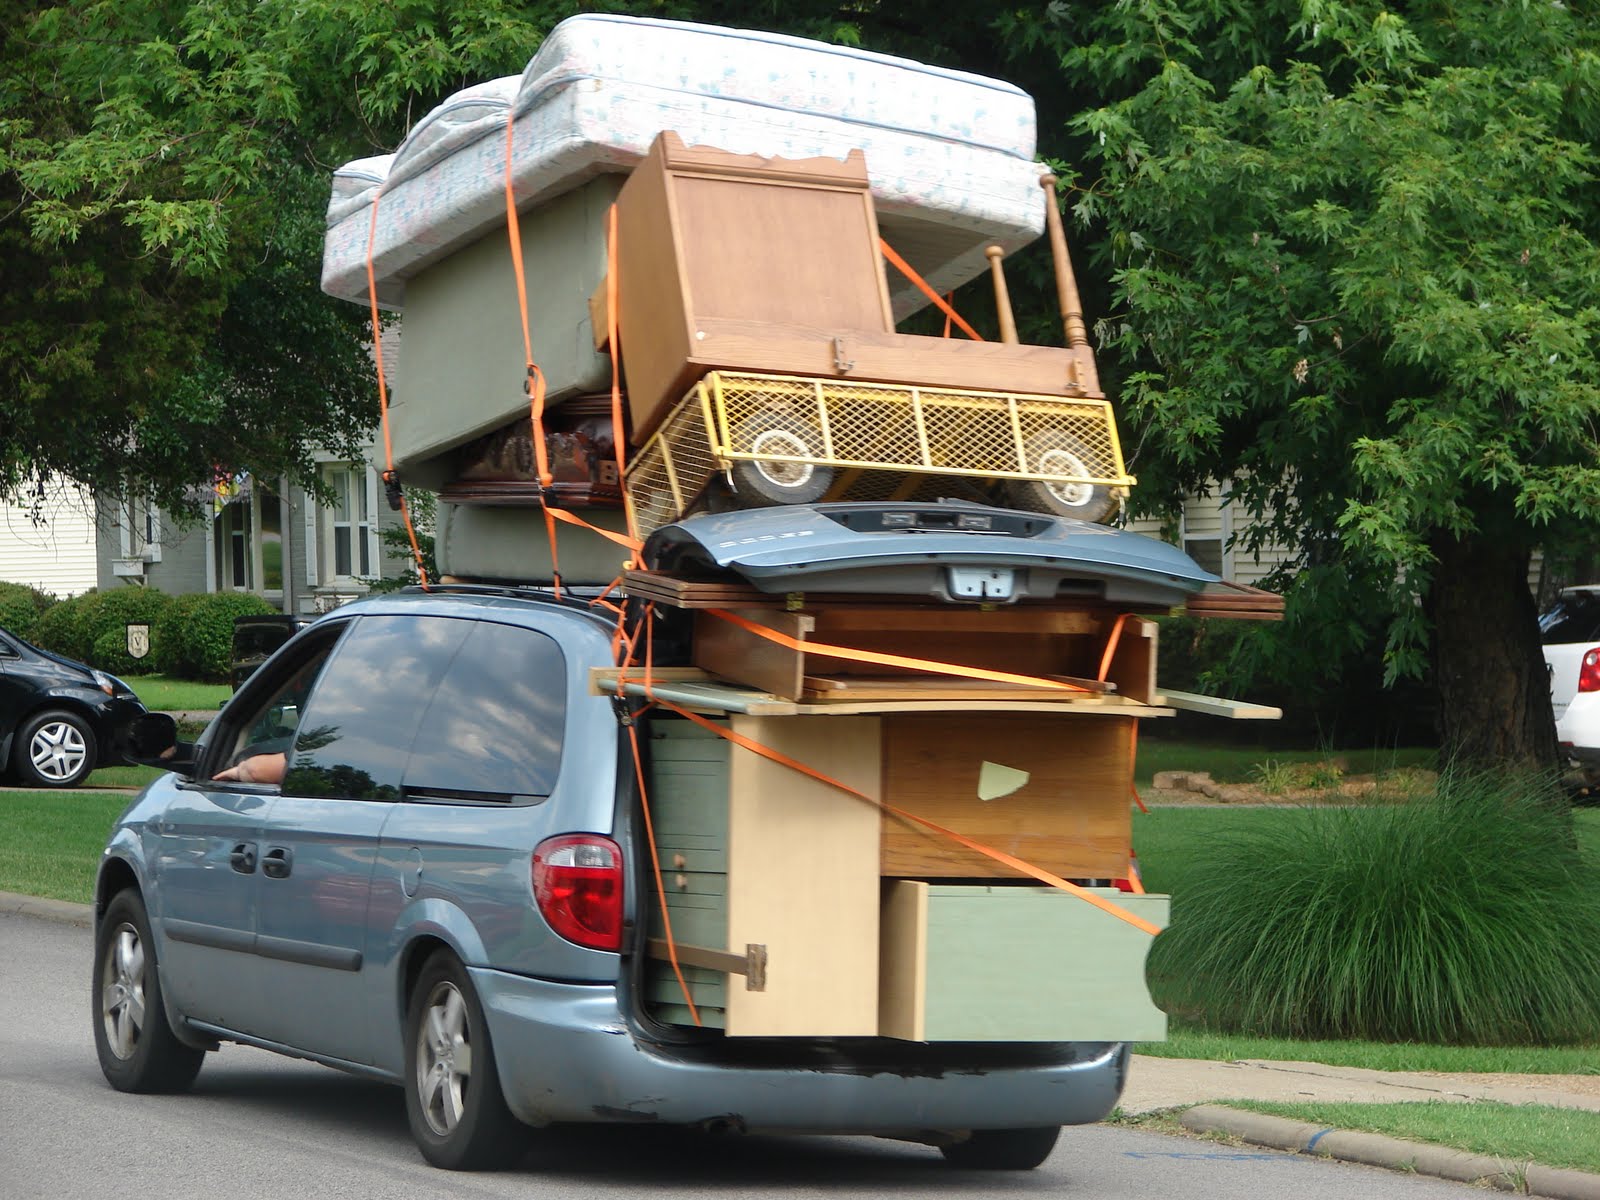 I'm so relieved that the yard sale is over, but it was a HUGE success and I'm so glad we did it. It'll have to be a few more years before I do another one~I have to forget just how much work they are first!
Do you enjoy having yard sales or do you prefer to just shop them?