Here are the rest of my ornaments that are souvenirs from trips my family has taken. It's sort of a tradition with us to bring back ornaments for everyone when on a trip.
I've tried to post these in order, but it seems that my memory got a little wonky so just don't mind that please:)
 from a trip to New York City 1998

 a couple from a set brought back from Belarus in the early 2000's
(my dad's trip)
 from Branson, MO 2003
(The Princess' first Christmas)
 from Pigeon Forge, TN 2005
(a family vacation)
 from Winter Park, Colorado 2006
(a church ski trip)
 from Alaska 2006
(my parents' trip)
 from Maui, Hawaii 2007
(our 10th anniversary trip)
 from Gulf Shores, Alabama 2007
(a family vacation)
 from Romania 2007
(a giveaway I won at a ladies' conference from
a friend who has adopted children from Romania)
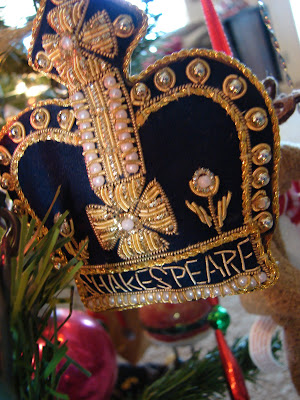 from England 2008
(my parents' 40th anniversary trip)
 from Gulf Shores, Alabama 2008
(a family vacation)
 from Gulf Shores, Alabama 2008
(a family vacation)
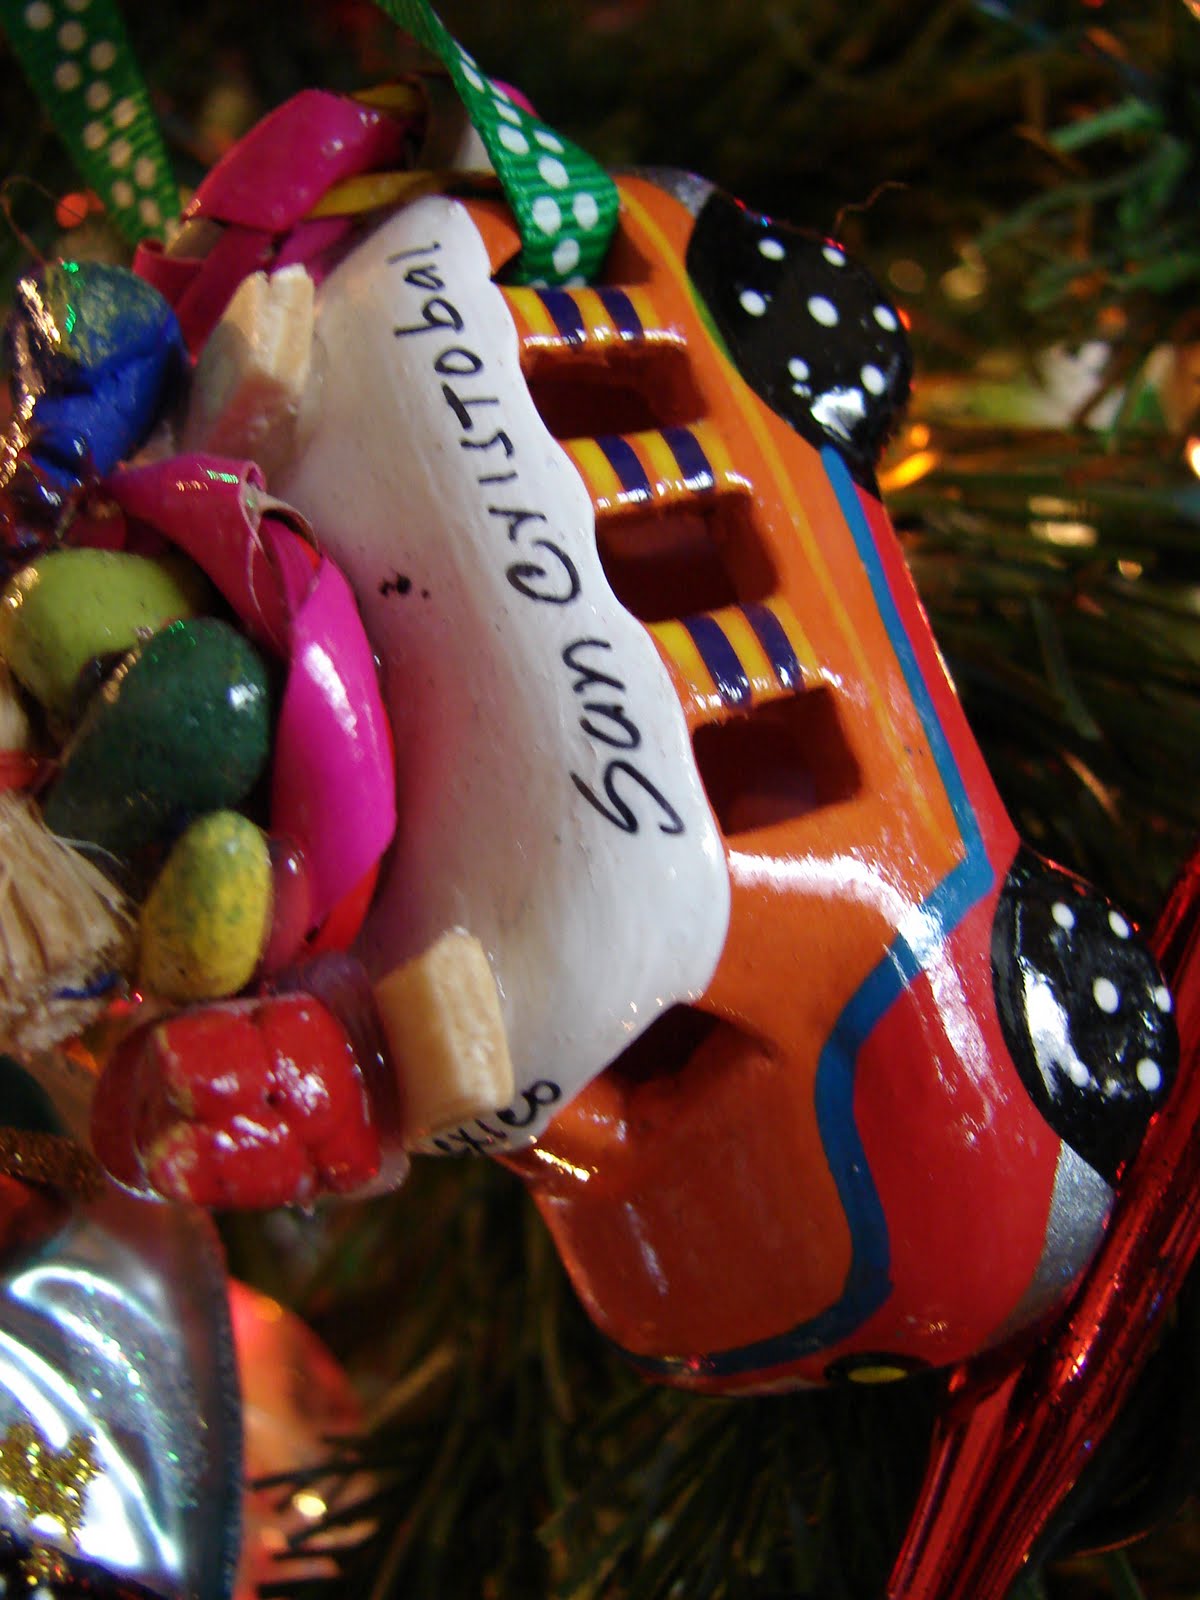
 from San Cristobal, Chiapas, Mexico 2009
(a family missions trip)
 mini pottery basket from Kentucky 2009
(a family trip)
 from Guatemala 2009
(Vince's missions trip)
 from Guatemala 2010
(my dad's trip)
 from Ohio 2010
(a family trip)
I've tried to post these in order, but it seems that my memory got a little wonky so just don't mind that please:)
 from a trip to New York City 1998
 a couple from a set brought back from Belarus in the early 2000's
(my dad's trip)
 from Branson, MO 2003
(The Princess' first Christmas)
 from Pigeon Forge, TN 2005
(a family vacation)
 from Winter Park, Colorado 2006
(a church ski trip)
 from Alaska 2006
(my parents' trip)
 from Maui, Hawaii 2007
(our 10th anniversary trip)
 from Gulf Shores, Alabama 2007
(a family vacation)
 from Romania 2007
(a giveaway I won at a ladies' conference from
a friend who has adopted children from Romania)
 from England 2008
(my parents' 40th anniversary trip)
 from Gulf Shores, Alabama 2008
(a family vacation)
 from Gulf Shores, Alabama 2008
(a family vacation)
 from San Cristobal, Chiapas, Mexico 2009
(a family missions trip)
 mini pottery basket from Kentucky 2009
(a family trip)
 from Guatemala 2009
(Vince's missions trip)
 from Guatemala 2010
(my dad's trip)
 from Ohio 2010
(a family trip)
Thanks for taking a trip with me down memory lane! I've enjoyed reminiscing about all the places these ornaments came from. My tree is truly full of wonderful memories!
If you didn't catch Traveling With Ornaments: Part 1 go here!
If you didn't catch Traveling With Ornaments: Part 1 go here!