
The Art of Norman Rockwell


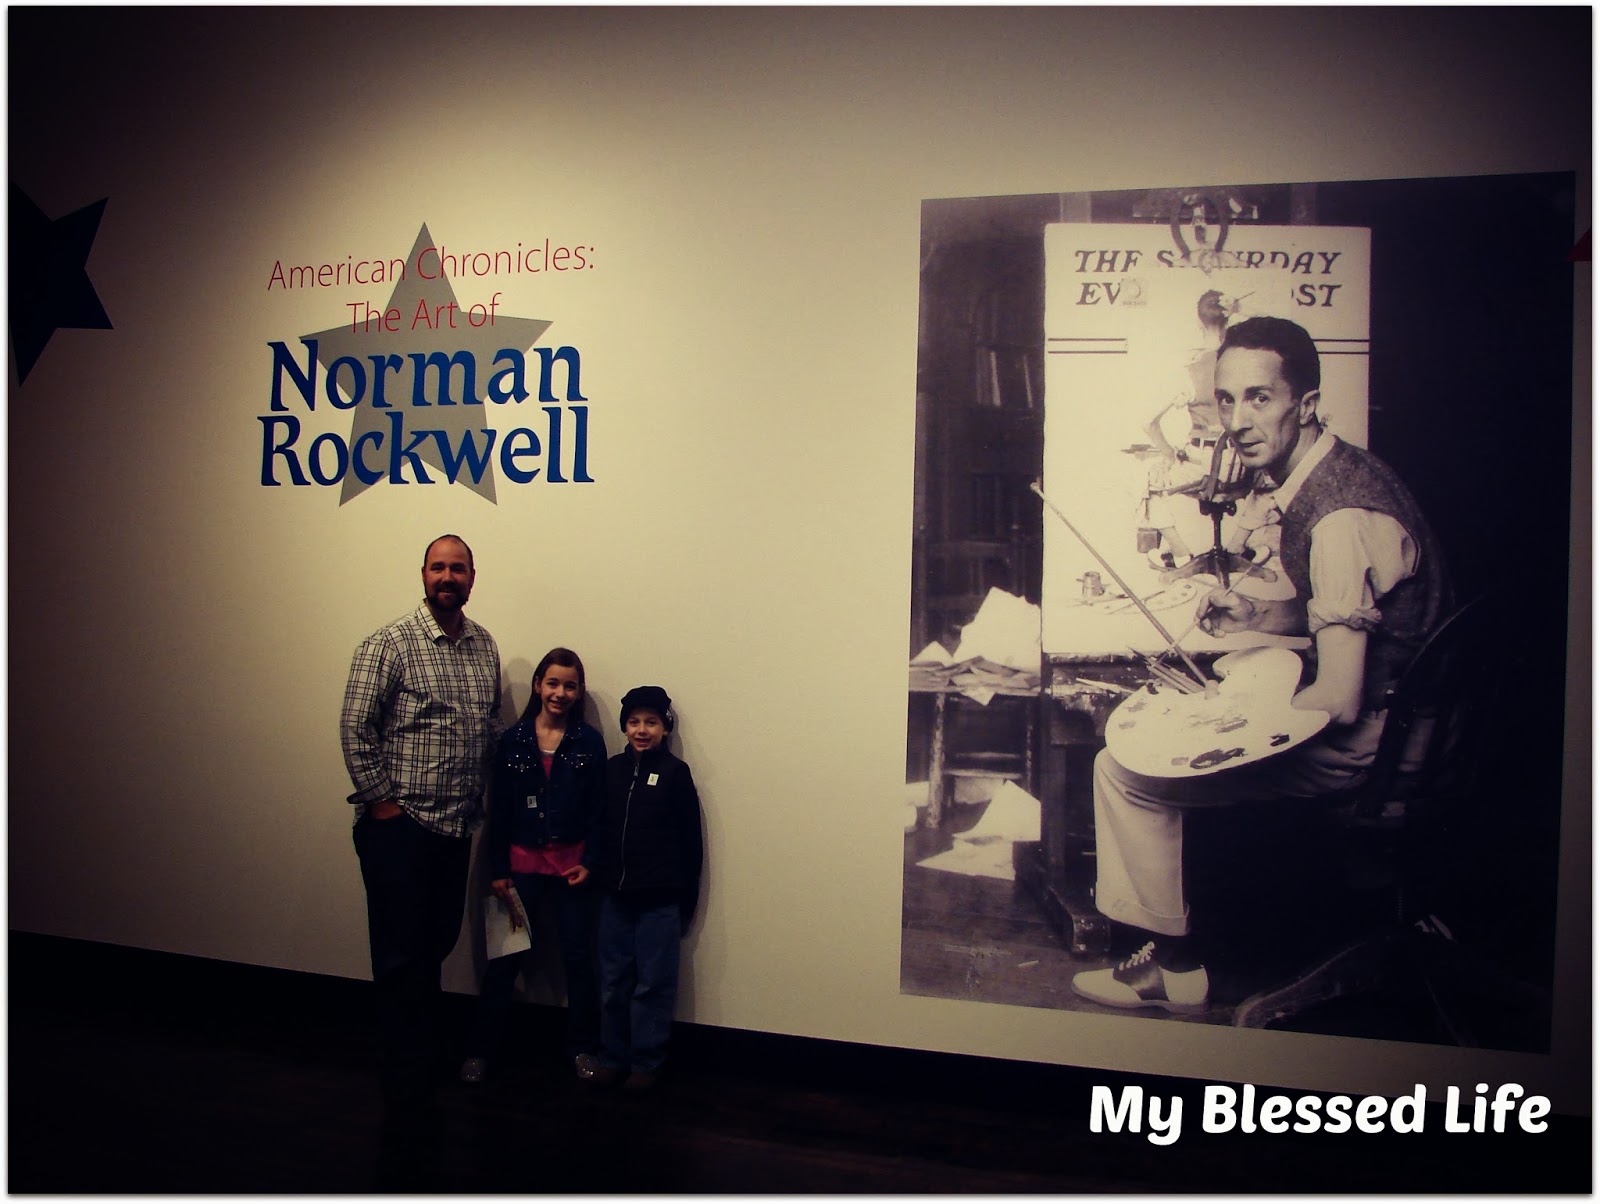
This week we had the opportunity to view some original art by one of our family's favorite American artists: Norman Rockwell.  The Frist Art Center in Nashville will  have this exhibit until February 9th, if you're interested.  It's well worth the visit!  


My parents, especially my dad, have always been fans of Mr. Rockwell.  I well remember a large art book (the only one my parents ever owned) of his works.  I would look through it over and over, enthralled with the faces of our country's history and the emotions they told.  Rockwell certainly knew how to speak to the human emotions and expressed them so well in his art.


I thoroughly enjoyed seeing so many of his works (over 40 paintings plus some sketches, Saturday Evening Post covers, and a short film) in person.  They are such detailed oil paintings!  And to think he used to paint one a week  for the Saturday Evening Post for years is truly amazing!  


We absolutely love visiting The Frist!  It's actually quite fun that they don't own any art, but are constantly changing their exhibits.  We are seriously considering a family membership for this upcoming year.  

You can read about our previous visits to The Frist here, here, and here.

*****
Subscribe by email and never miss a thing here at My Blessed Life!

Comments

Popular posts from this blog

The Making of an Egyptian Death Mask

We are learning all about the ancient world this year with Story of the World I and loving it! We've been learning a lot about Egypt, of course, which is completely fascinating. Most recently we have studied the New Kingdom of Egypt, which includes the story of King Tut. So we decided making an Egyptian death mask in the style of King Tut's would be a fun project. First since it was too cold at the time to paper mache in the garage (it probably would have frozen instead of dried-ha) and it was too messy to do it in the house, we decided to pick up a couple of cheap craft masks at Hobby Lobby. Next we cut out cardboard shapes to complete the shape of the death mask, attaching them with hot glue. Vince even put a little detail on the *beard* with the hot glue per The Princess' request. Then the kiddos started to paint them with this metallic gold tempera paint. It worked okay for the cardboard, but would not coat the plastic of the mask. We thought maybe a second coat

1st Day Back to {home}School, Among Other Things

We did it! We finally got unpacked enough and got our new learning room organized enough to start back to school! Frankly, I was starting to get worried...ha Today went very well though. So far I am extremely pleased with our new curriculum choices for math and language arts. Now, if I could just actually get some lesson planning done... And get the finishing touches done in the learning room, so I can blog it! In other news, it has been a bit of a traumatic week...pet-wise. Last weekend a sweet friend (who had asked my permission beforehand) brought the kiddos their very own little fish tank with two goldfish. Well, on Sunday we noticed that The Princess' fish was pretty lethargic...dead, actually. She was sad, but she handled it fairly well. And we went to the store that evening and let her pick out a new goldfish. Well, today during our school time~the fish tank is in our learning room~we noticed Mr. B's fish was acting funny. And then he was dead. It was a

Door Hanger Chore Charts

My kids have had a chore chart for a while.  It's one of those magnetic boards and they share it.  However, it's not by their rooms and often they (and I) forget to update it.  Plus it's a little bulky.   When I saw the concept of a door hanger chore chart on Pinterest, I loved it!  It was compact, right there were the kiddos could see it coming out and going into their rooms, and it costs almost nothing to make.   I headed over to one of my favorite stores: Hobby Lobby, of course.  They  have these little wooden door hangers for .79.  I also grabbed a couple of packets of decorative buttons for $1.99 each.  I already had the clothes pins and the paint so those cost me nothing.   I began by painting the door hangers (I used tempera paints because that's what I had).  Then I grabbed a fine point Sharpie and the clothes pins and started writing chores on them, making sure to write them correctly so they will clip on the right direction.   The left