Here it is nearly the end of June~how is it that I've just gotten my garden started, you say? I keep asking myself that same question.
Then I remember...I was traveling too much in April and May to have a chance, and there was also that pesky reminder in the back of my mind that our lease was up at the end of May and we may be moving soon. So see, I really wasn't just being lazy. In case you were wondering...
But I decided to take a leap of faith and plant a garden anyway.

And then I remembered that I'd really let my little raised bed go since last summer's garden. The only thing I'd thought to do was to release our *pet* earthworms into the dirt at the end of our *worms* coop class this past Spring. The weeds had taken up permanent residence. So first I had to clear out the bed. I tried to convince The Princess that using her new set of gardening tools would be great fun as she helped me dig up and pull out weeds. A hour, a sunburn and what felt like buckets of sweat later, I finished the weeding process...alone. But the result was a nicely prepared raised garden bed.
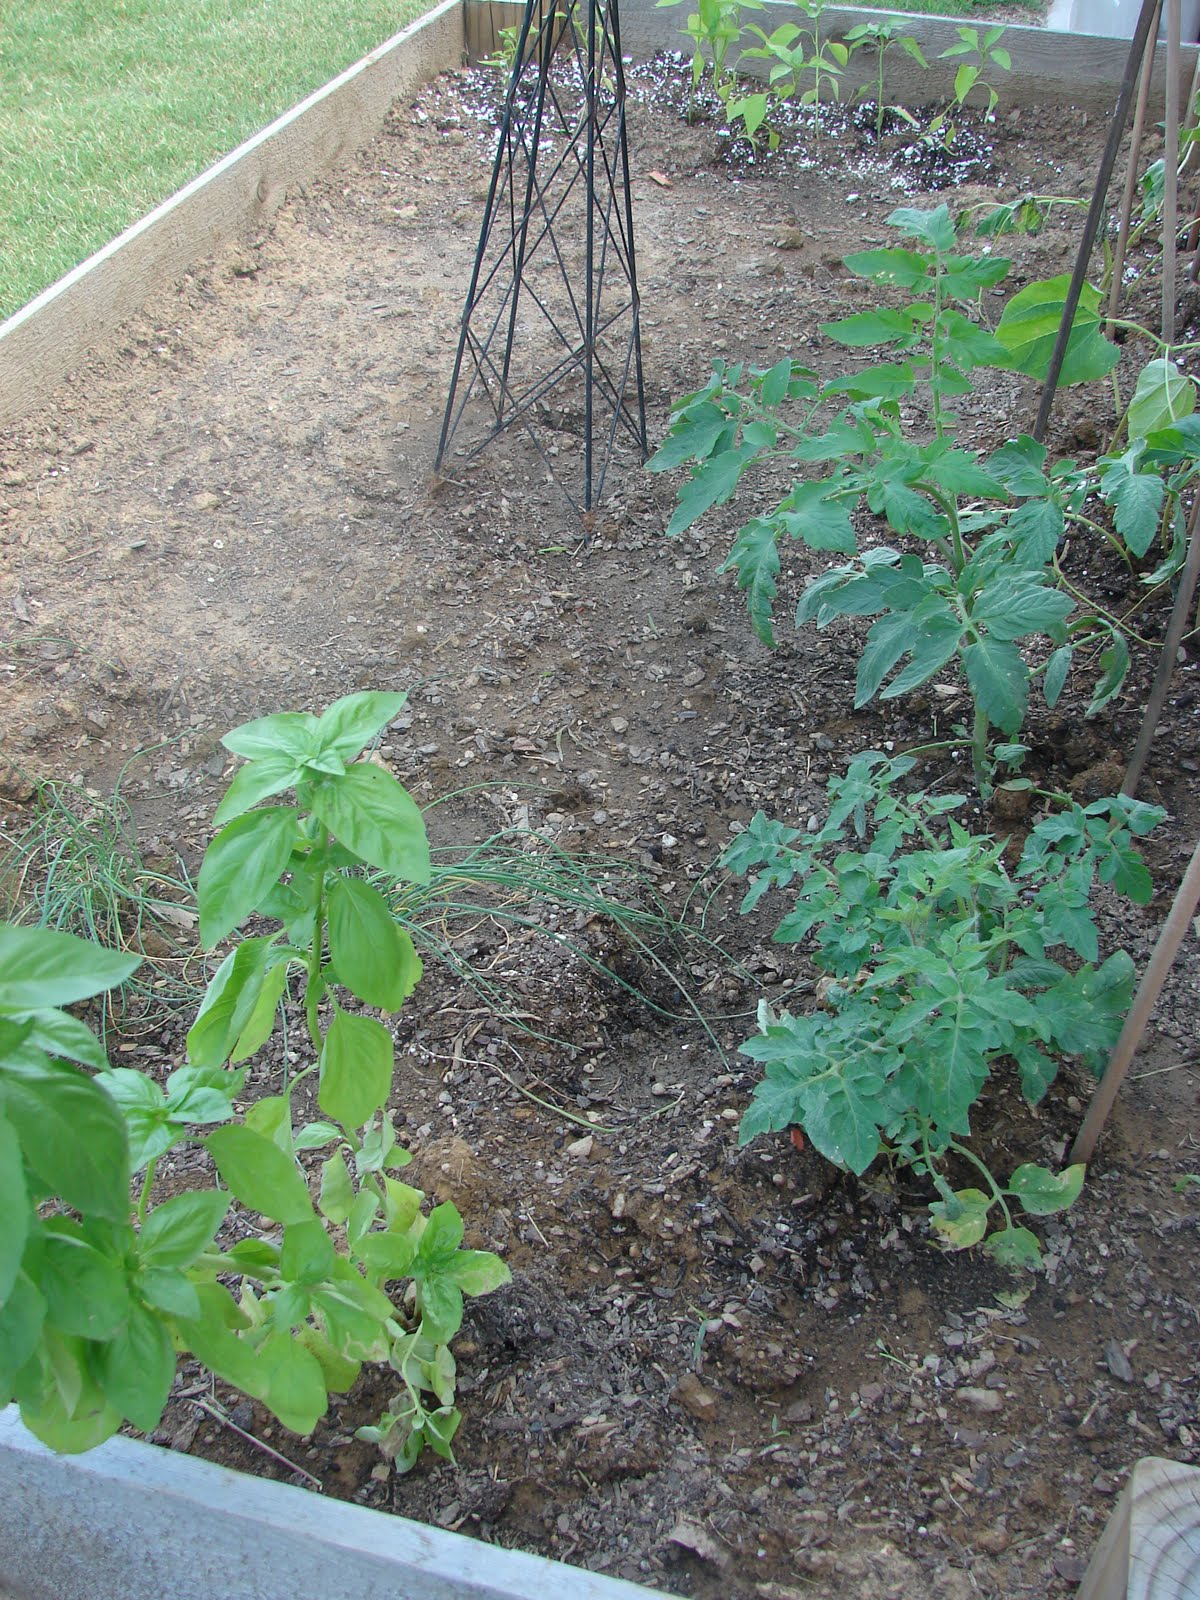
 Then it was time for the plants and seeds. I'd picked up a couple of tomato plants: a Roma and a *celebrity*. I also found some herb plants on clearance (a perk of waiting until almost-too-late to plant your garden): basil and chives. My sister has been experimenting with starting seeds, so she had a few plants to share with me: cayenne peppers and green beans. And finally, I had a couple of seed packets for lettuce and cilantro that I thought I would try.

So here it is: my little kitchen garden. One of these days I want to have a *real* garden, but for now I am learning a little at a time. I really am a complete novice. I'll keep you posted as to how my very-lately-started garden progresses. And feel free to pass along any gardening advice you may have for me!!
 This post is linked to Show & Tell Friday at My Romantic Home.

Then I remember...I was traveling too much in April and May to have a chance, and there was also that pesky reminder in the back of my mind that our lease was up at the end of May and we may be moving soon. So see, I really wasn't just being lazy. In case you were wondering...
But I decided to take a leap of faith and plant a garden anyway.

And then I remembered that I'd really let my little raised bed go since last summer's garden. The only thing I'd thought to do was to release our *pet* earthworms into the dirt at the end of our *worms* coop class this past Spring. The weeds had taken up permanent residence. So first I had to clear out the bed. I tried to convince The Princess that using her new set of gardening tools would be great fun as she helped me dig up and pull out weeds. A hour, a sunburn and what felt like buckets of sweat later, I finished the weeding process...alone. But the result was a nicely prepared raised garden bed.
 Then it was time for the plants and seeds. I'd picked up a couple of tomato plants: a Roma and a *celebrity*. I also found some herb plants on clearance (a perk of waiting until almost-too-late to plant your garden): basil and chives. My sister has been experimenting with starting seeds, so she had a few plants to share with me: cayenne peppers and green beans. And finally, I had a couple of seed packets for lettuce and cilantro that I thought I would try.
So here it is: my little kitchen garden. One of these days I want to have a *real* garden, but for now I am learning a little at a time. I really am a complete novice. I'll keep you posted as to how my very-lately-started garden progresses. And feel free to pass along any gardening advice you may have for me!!
 This post is linked to Show & Tell Friday at My Romantic Home.