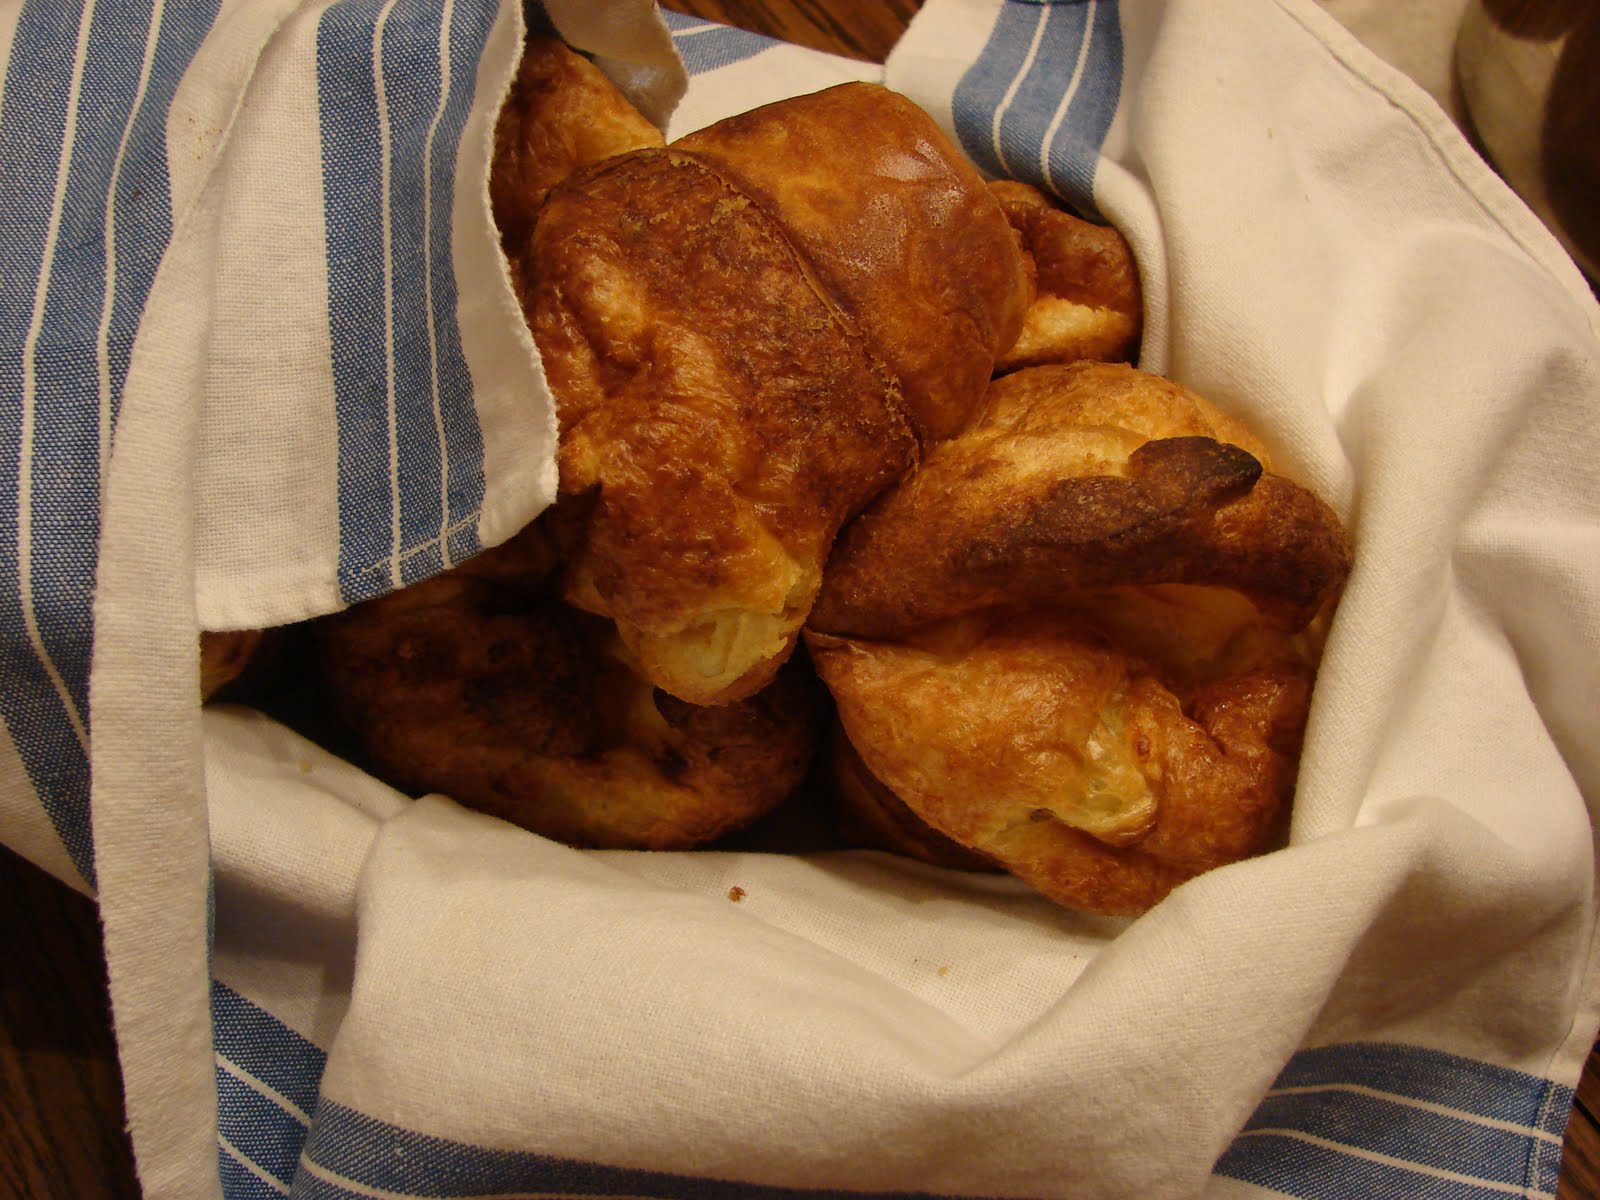
 Tonight we tried a new recipe from blog friend Kayren via blog friend Betsy. It was so yummy and a huge hit with us all! It wasn't anything new for Vince or me, we've eaten similar dishes, but I'd never made it for us and I don't think the kiddos had eaten this particular dish. It was perfect for a winter night! Plus the popovers we had to go with it were the perfect touch, they soaked up all that delicious broth so well....mmmmm
Beef and Noodles
3 lbs beef stew meet, cut in 1" cubes
1 onion, chopped (or use some onion powder)
4 T butter
10 cups of water
8 tsp Beef Soup Base
10 cups of water
8 tsp Beef Soup Base
24 oz wide egg noodles
*****
*****
Brown stew meat and onions in butter in a large stock pot. Cover with 10 cups of water. Bring to a boil, reduce heat to low, cover and simmer 2 1/2 hours.
Take out the meat and set aside. Add soup base and noodles. Cook until noodles are tender. Return meat to the pot with the noodles and check seasonings. Add salt and pepper if needed. Serve once the meat is reheated. It usually doesn't take long.

Popovers
(Martha Stewart)
2 tbsp. butter, melted
2 cups milk
2 cups all-purpose flour
1 tsp. salt
4 eggs, slightly beaten
*****
Preheat the oven to 450F. Butter and lightly flour a popover pan or a muffin tin (very important step!). Set pan(s) aside.
Whisk together the butter, milk, flour and salt until smooth. Whisk in the beaten eggs, a bit at a time, until incorporated. Do not overbeat the batter; it should have the consistency of heavy cream.
Fill the prepared dished 3/4 full with the batter. Bake 15 minutes. Then without opening the oven, lower the heat to 350F and continue baking popovers 15-20 minutes longer. When you take them out of the oven use a fork or a knife to prick a hole in the top of each to release the steam inside. Serve hot.
These are wonderful served with breakfast or dinner!
Take out the meat and set aside. Add soup base and noodles. Cook until noodles are tender. Return meat to the pot with the noodles and check seasonings. Add salt and pepper if needed. Serve once the meat is reheated. It usually doesn't take long.
Popovers
(Martha Stewart)
2 tbsp. butter, melted
2 cups milk
2 cups all-purpose flour
1 tsp. salt
4 eggs, slightly beaten
*****
Preheat the oven to 450F. Butter and lightly flour a popover pan or a muffin tin (very important step!). Set pan(s) aside.
Whisk together the butter, milk, flour and salt until smooth. Whisk in the beaten eggs, a bit at a time, until incorporated. Do not overbeat the batter; it should have the consistency of heavy cream.
Fill the prepared dished 3/4 full with the batter. Bake 15 minutes. Then without opening the oven, lower the heat to 350F and continue baking popovers 15-20 minutes longer. When you take them out of the oven use a fork or a knife to prick a hole in the top of each to release the steam inside. Serve hot.
These are wonderful served with breakfast or dinner!
