 I have come to a realization. I love spices.
  I realized this last night when I was doing a bit of spice-cabinet-organizing and counted up nearly 60 spices and spice blends in my cabinet. I know! It's an addiction! But I really do use nearly all of them, at least occasionally.
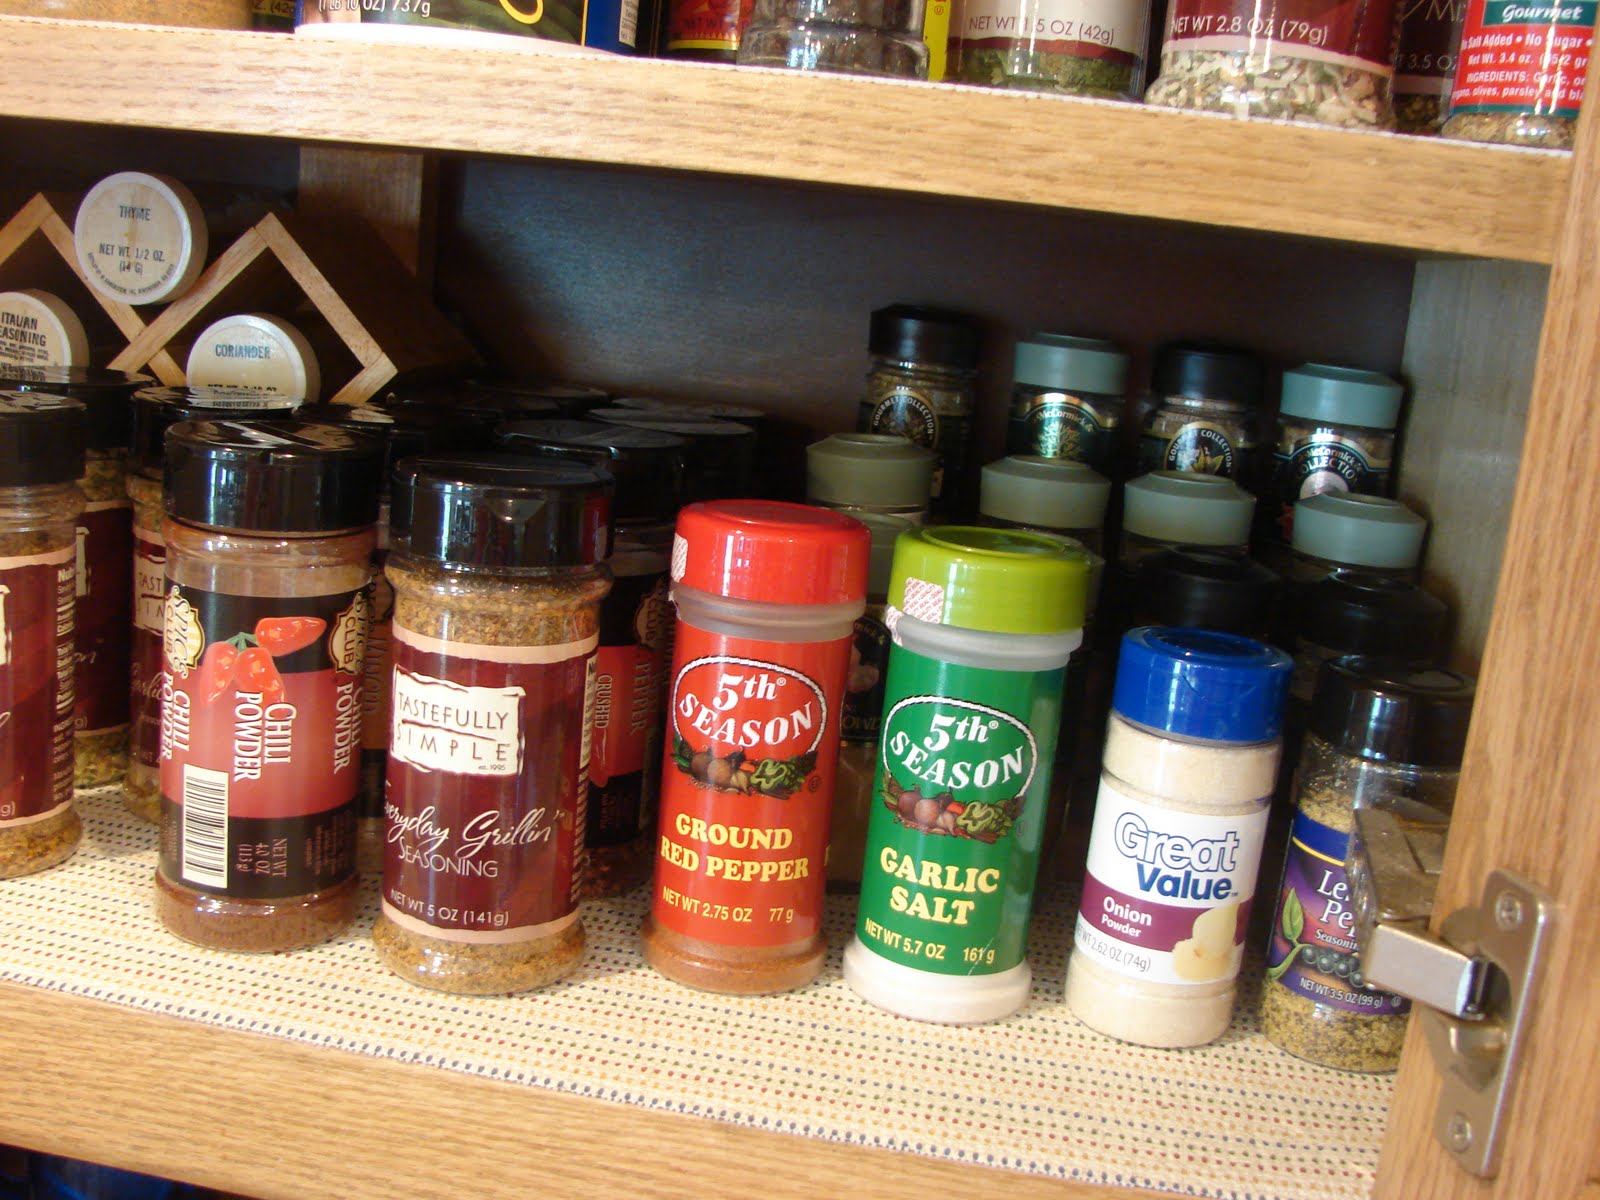 There is definitely all kinds of stuff in there. Although every once in a while I come across a recipe that calls for a seasoning that I actually don't have. Hard to believe, isn't it?
 And I know that you are supposed to clean out your old spices every six months or so and while I must admit I'm too cheap, I mean frugal, to do that with abandon, I do toss one occasionally. But it is amazing how long spices actually do last!
 I do have a few personal faves. Seasoned Salt is one. I love the stuff from Tastefully Simple, although I do have a great from-scratch recipe for seasoned salt that I love, too. Smoked Paprika is another wonderful spice. I could just smell it all day long! Then there's some good old Cajun seasoning. I try never to run out of this. I add it to lots of things in place of salt and pepper. It gives an extra flavor kick that is wonderful.
 Of course, I love freshly ground pepper and kosher salt~which I now keep in what used to be a jelly jar on my stovetop. So handy!
 What are some of your favorite spices? And how do you most like to use them? Tell me!!
This post is linked to Show & Tell Friday at My Romantic Home.