 (our room was in that curved part on the left)
Last week Vince and I celebrated our 14th wedding anniversary. Time sure does fly when you're having fun~and raising kiddos:)
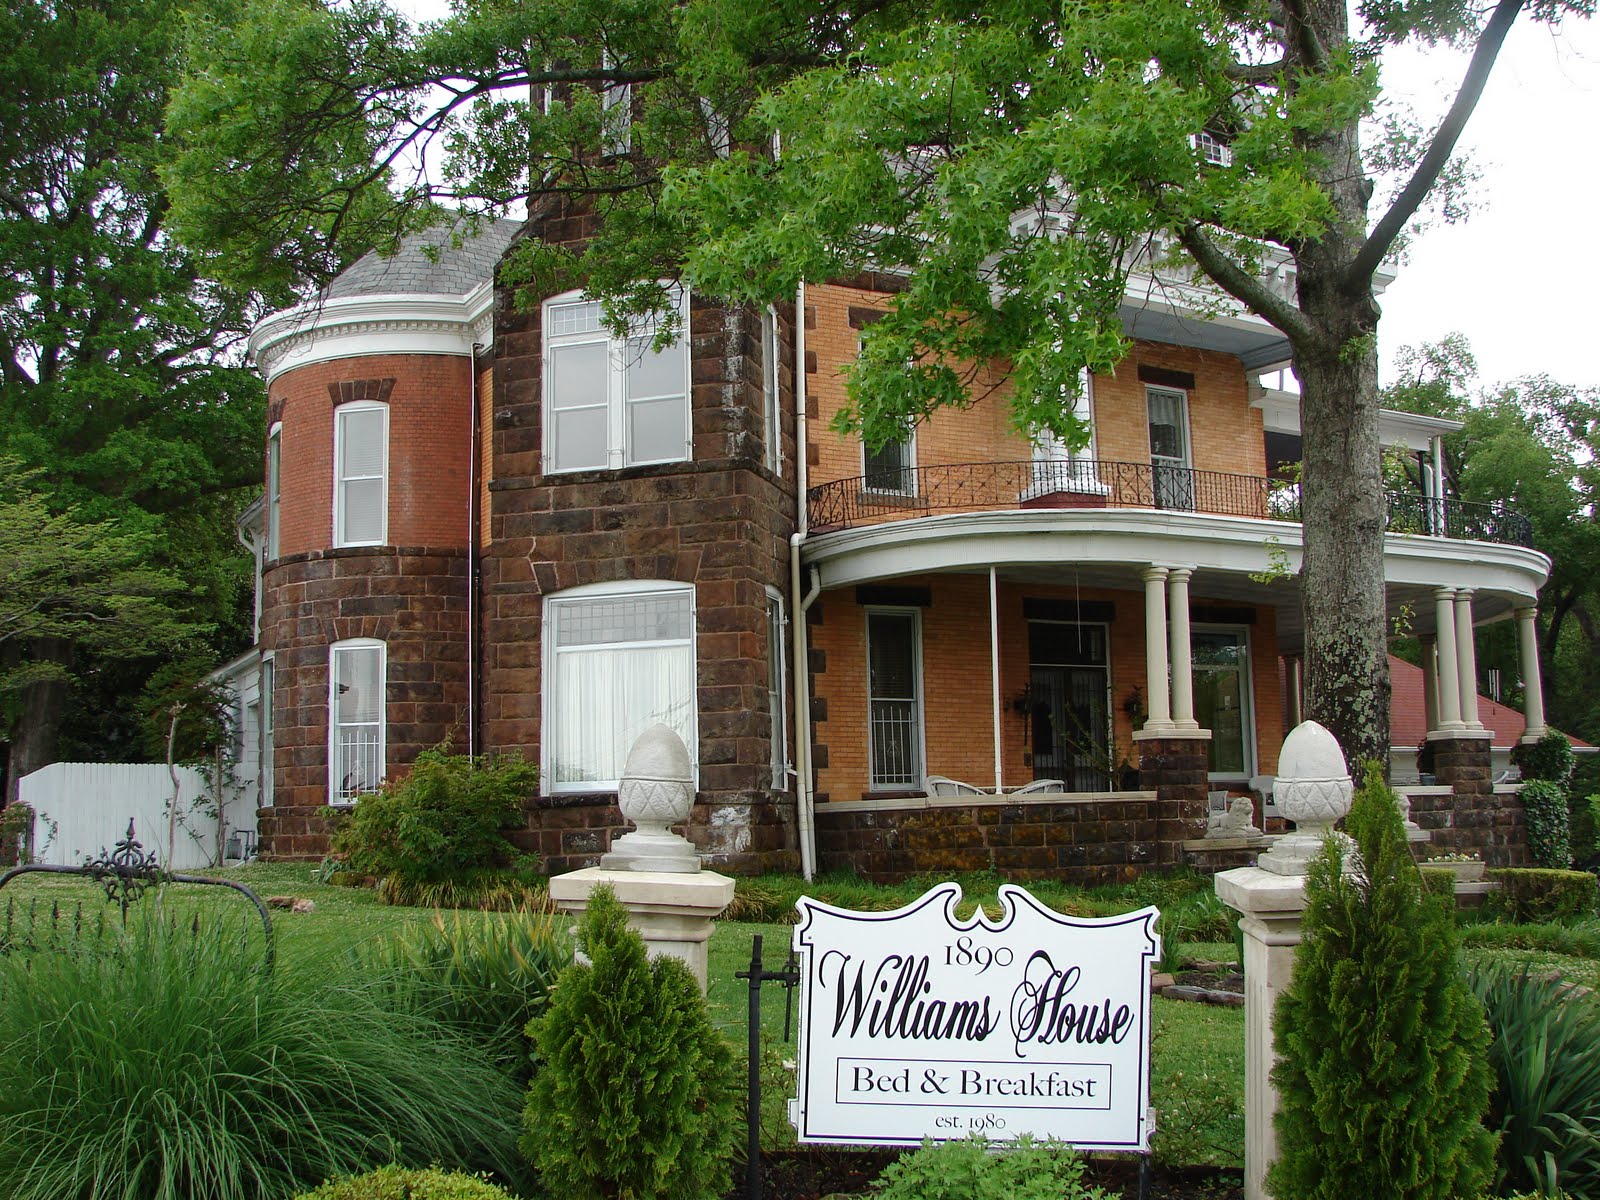
 (the front entrance of The Williams House)
We don't always celebrate the same way each year. Sometimes it's a quiet dinner out at a favorite~or even a new~restaurant and occasionally it's been an overnight getaway~or even a whole week away for our 10th anniversary.
 (a garden fountain)
This year Vince surprised me and planned a little overnight escape to Hot Springs, AR. And to a Bed & Breakfast!
 (homemade snickerdoodles~my fave!)
We love to stay at B&B's! We spent our wedding night at a local one (and our favorite!) and have returned to it several times for special occasions. We've also stayed at B&B's in Eureka Springs, AR and Charlottestown, Prince Edward Island. It's always an adventure!
 (room decor by a local artist~so cool!)
Each B&B has it's own feel, but in our experience they are generally gorgeous old homes lovingly cared for by the hosts who can't wait to share them with you. The Williams House in Hot Springs was no exception~it was beautiful and the hostesses were great!
 (comfy vintage chairs)
Our room was so nice, furnished with wonderful antiques, a huge jacuzzi and a private bathroom. These are definitely things to check out when booking at a B&B. You want a private bathroom! I've only ever stayed at one where I had to share~and that time we only shared with my parents and sister so it wasn't too bad. I don't think I would enjoy sharing with strangers.
 (gorgeous antique headboard)
The bed had the softest sheets I've ever felt before! Is that was super-high-thread-count-Egyptian cotton feels like?! I want some!!
The room also had a fireplace, tv/dvd player, comfy chairs, chocolate covered strawberries...you know, all the nice amenities we all love.
 (the breakfast room)
Then comes breakfast~my favorite thing about a B&B! This is one of the most important things to consider when booking at a B&B. Does it have individual tables or one big *community* table? We've had it both ways. I definitely prefer the individual table. The concept of the community table is nice, but it's SO awkward. I suppose if you had the perfect mix of people it would be fun because I'm certainly not opposed to talking to strangers (I'm a blogger, for crying out loud, right?!). But without a good mix it's just....awkward. Not bad, but there's just no personal space around a big dining table, right?
 (our breakfast table)
The best B&B's have individual tables that are close enough to each other that you can talk to the other guests if you so desire...or you can have your own private breakfast at your own table. It's kind of like the best of both worlds:) Our morning last week was filled with a wonderful breakfast quietly with each other, but ended with a very nice conversation with the couple from Texas at the neighboring table. See? The best of both worlds!
We realized last week that we hadn't stayed at a B&B since having kiddos. We've definitely stayed at them when there have been families and it was fine, but I think I prefer (for now) to keep B&B's all to Vince and myself:) They are such a nice retreat, I don't want to wait 8+ years again!
How about you? Have you ever stayed at a Bed & Breakfast? Do you enjoy them as much as we do?