 This past week we took a field trip with The Princess' Girl Scout troop to the Mid-America Science Museum in Hot Springs, AR. We had such a great time! If you've never been, I highly recommend a visit.
To start the day off I got to sit in with the troop and see all of their science experiments while Vince took Mr. B to check out the museum.
 There was the mixing of different liquids with different results.
 Then we made some *Gak*.
 Next there was a building exercise with Keva Planks.
 They even got to test out hand-cranked generators.
 Finally they learned about reverse engineering by taking apart some toys and putting them back together.
 The girls had a blast completing their class and earning another badge.
 In the meantime...Mr. B was exploring the nature trail (the museum is set in a lovely wooded area)...
 ...testing the heat sensor cameras...
 ...*capturing* shadows...
 ...climbing through tunnels...and much more! There were tons of great interactive displays.


 All in all, it was a very fun day! So, if you're in need of a fun summer day activity head over to Hot Springs for a day at the science museum (and a/c!)!
 There was the mixing of different liquids with different results.
 Then we made some *Gak*.
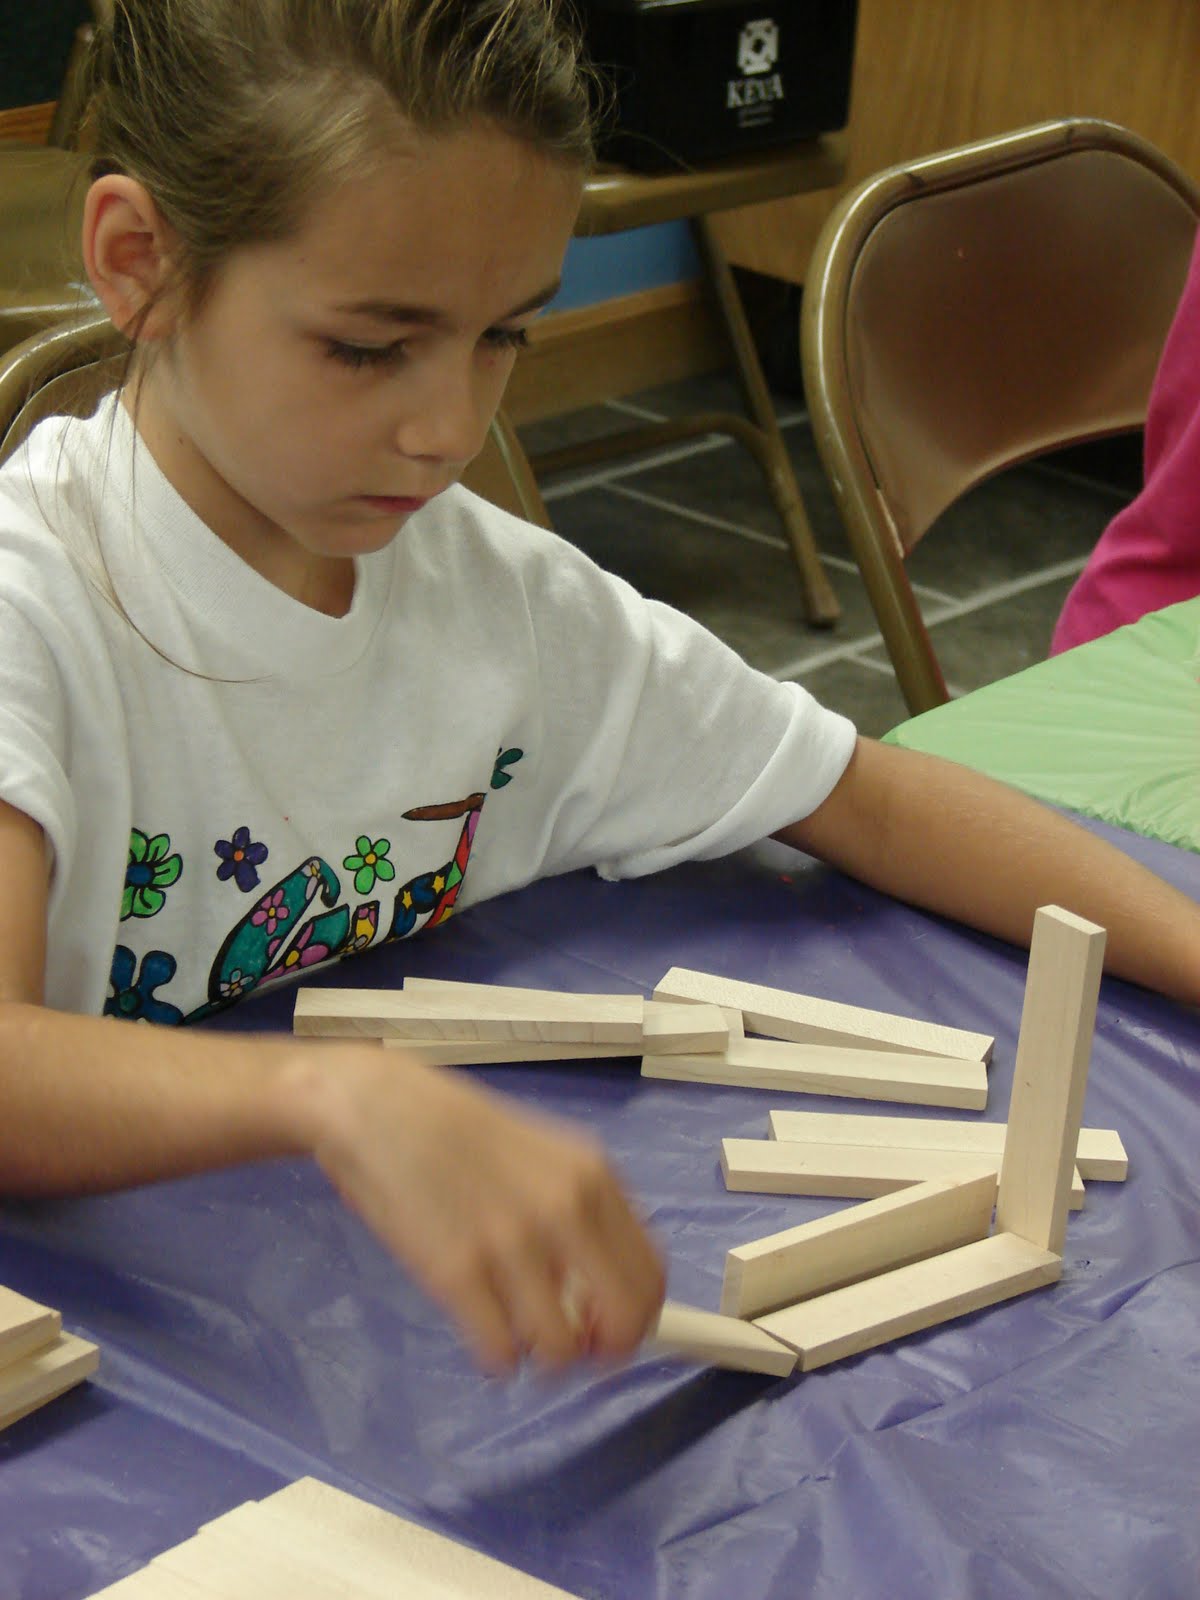 Next there was a building exercise with Keva Planks.
 They even got to test out hand-cranked generators.
 Finally they learned about reverse engineering by taking apart some toys and putting them back together.
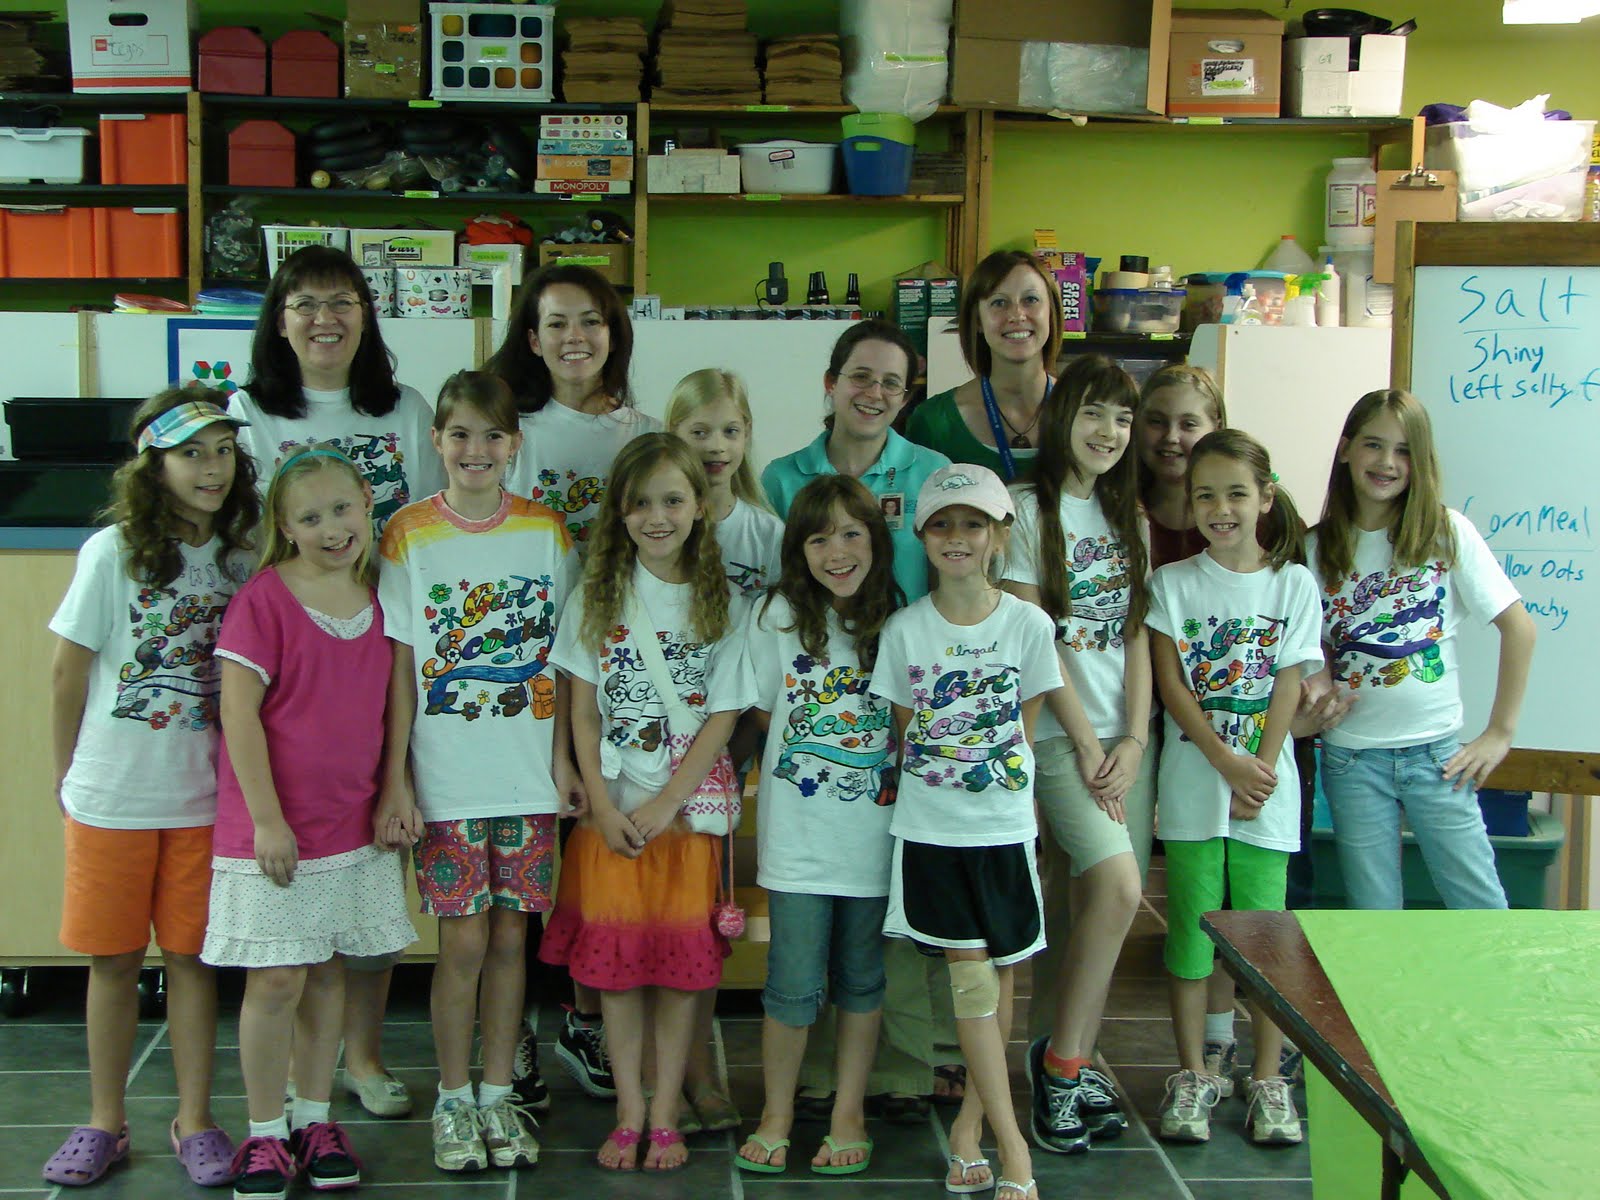 The girls had a blast completing their class and earning another badge.
 In the meantime...Mr. B was exploring the nature trail (the museum is set in a lovely wooded area)...
 ...testing the heat sensor cameras...
 ...*capturing* shadows...
 ...climbing through tunnels...and much more! There were tons of great interactive displays.


 All in all, it was a very fun day! So, if you're in need of a fun summer day activity head over to Hot Springs for a day at the science museum (and a/c!)!