
Happy Saturday! Isn't a slow Saturday morning wonderful after a very busy week? I even slept-in a little this morning...ahhh.
Now I'm just enjoying my hazelnut coffee and reflecting on this week. Bliss.
*****
Monday was...well, a typical Monday. I'll admit it's always a little hard to get my kiddos motivated again after the weekend so Mondays are a little slow around here. Does anyone else have that experience or am I the only one?
It was Presidents Day, of course, but I regret to say that we didn't do anything special. I wanted to, but right now I am having some challenges in the way of printing things, etc. I so wish we hadn't stored our printer. The ones I'm working with now are not user friendly. But that will be over soon. Patience, Lora, patience!
Tuesday began way too early with my son being revisited by a stomach bug. Ugh. But thankfully it didn't even last 24 hours. It did however knock him out for much of the day, along with The Princess and myself who were both up through the night with him. So we took it easy that day and did reading together (we're reading a Paddington Bear book) and a few other laid back exercises.
 Wednesday I kicked things off out of our usual order. I'm not sure why, but I almost always start off with the more mundane bookwork and then move onto the more *fun* subjects later. But this day we started with our art appreciation study. We have been studying Leonardo Da Vinci all month and I thought it would be fun to try drawing animals since, of course, Leonardo liked to draw animals. So I whipped out some of those Dover samplers I've been hording and the kids got out their new art pads and got busy.
 The kids had SO much fun I'm pretty sure they (at least Mr. B) could have gone all day doing that. Mr. B loves to draw so much! We did manage to get the rest of our school work for the day finished though. Art was a great way to kick of the day! I won't wait too long before we do that again.
 (Mr. B's animal drawings)
Thursday we continued playing catch-up a little from our *sick day* earlier in the week. It was a good day of lessons, reading and also a little box-crafting.
The reader that Mr. B is in has a fun story on fun things to do with boxes and he couldn't wait to make something:) He chose to make a rabbit and The Princess joined in by making a car. You should have seen them sliding down the staircase in the *box car*! So funny!


 When The Princess was in Kindergarten she had fun with a box, too. I can't believe it's been 2 years already!
We also studied the Phoenicians in history and watched some YouTube videos on glassblowing to go along with our lesson. Apparently the Phoenicians were some of the very first glassblowers and really perfected the art. It was a fun lesson!

 Friday is usually our short day and we had a very good morning finishing up our lessons for the week. We wrapped things up with a lesson in our science on Jupiter and also a science experiment~always a big hit around here!
 We built a *hurricane tube* using two 2-liter bottles, electrical tape and a 1" washer.
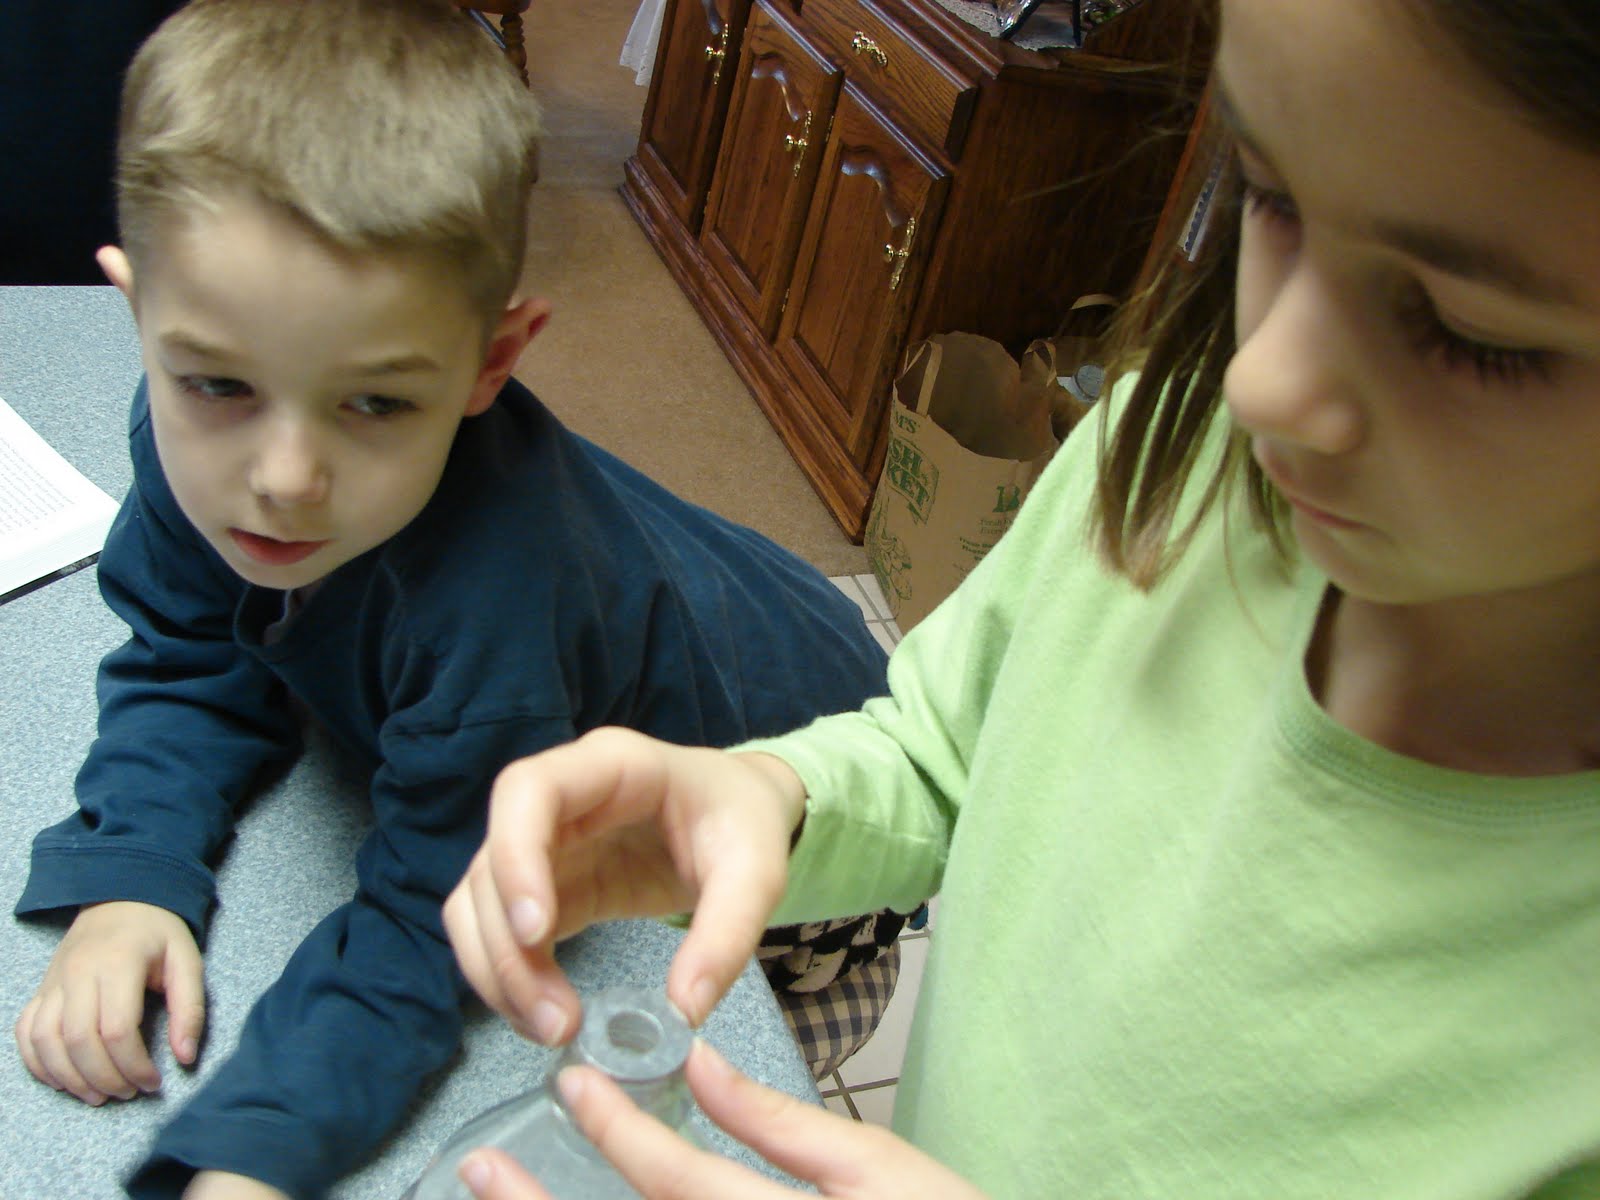 One of the bottles was filled 2/3 full with water and by flipping it over (water on top) and giving it a little swirl it creates a funnel, similar to the funnel in a hurricane or tornado.
 The kids loved it~hey, I even thought it was fun! We did it over and over.
 And that was our week in school! Oh~and did I mention that we've also been delivering Girl Scout cookies all throughout the week? Yes, it's that time of year! Mmmmm...so yummy! I hope you have some cute little Brownie to buy them from where you live, too:)